Adding filters and gels are an essential part of the photography and videography workflow. The use of filters and gels can help to enhance the image, adjust the color balance, and create unique lighting effects. When it comes to using gimbals with filters and gels, there are several tricks and tips to consider. In this article, we’ll cover five tips to ensure you get the best results when using gimbles with filters and gels.
Choose the Right Size
Filters and gels come in different sizes, so it’s essential to choose the right size for your gimbal’s camera lens. A filter that’s too big or small won’t fit on the lens, which can cause unwanted glare and reflections. Before purchasing any filters or gels, check the specific size of your camera lens, and ensure the filter or gel is compatible.
Balance your Gimbal
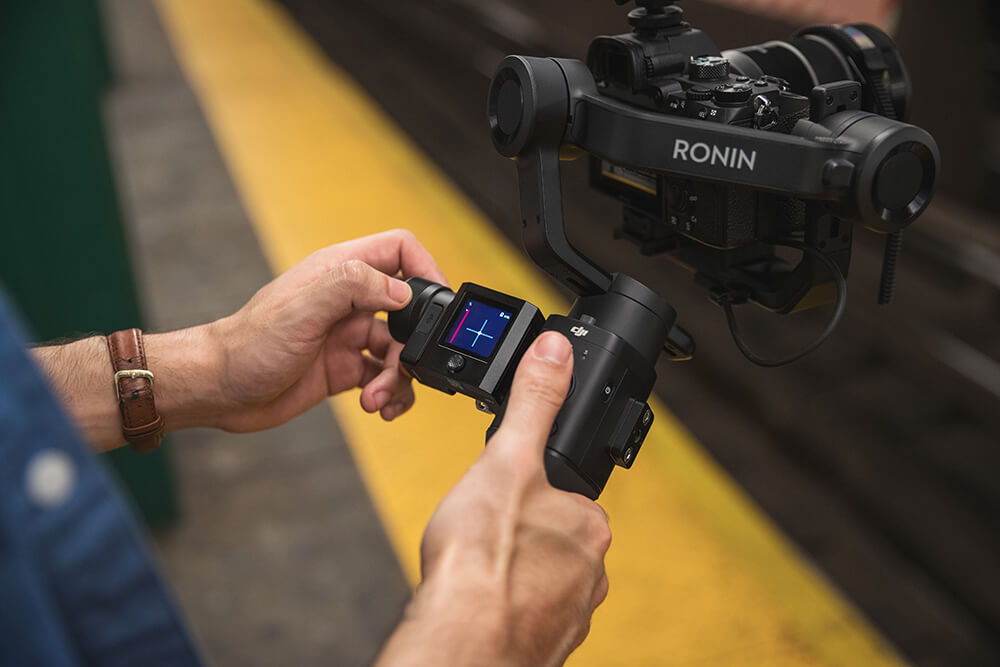
Using filters and gels can alter the balance of your gimbal’s camera. Using filters and gels with an incorrectly balanced gimbal can cause unwanted movement and instability. This makes it challenging to get smooth footage. To ensure the gimbal is correctly balanced, take the time to balance it before adding any filters or gels. You may find it helpful to rebalance after installing the filters or gels as the added weight may affect the balance.
Use Polarizing Filters
Polarizing filters are an essential tool for outdoor photography and videography. These filters effectively remove unwanted reflections and glare from surfaces such as water, glass, or metal. When using these filters with a gimbal, ensure that the filter is correctly aligned to the lens. You may need to adjust the filter angle while in use to achieve the desired effect.
Avoid Light Leaks
Light leaks can be a common issue when using filters and gels with a camera lens. They can create unwanted and distracting effects in your footage. These leaks can manifest as light streaks, flares, or a washed-out image that detracts from the overall quality of the video. Fortunately, there are a few steps you can take to avoid light leaks when using filters and gels. First, ensure that the filter or gel is properly seated on the camera lens and that there are no gaps or crevices where light can enter. If you do notice any gaps, consider using gaffer tape to seal them off and prevent light from leaking in. Finally, be sure to test your setup before filming to ensure that you have eliminated any potential sources of light leaks. And that your footage is clear and visually appealing. With a little attention to detail, you can avoid light leaks and produce high-quality footage every time.
Choose the Right Gels
Color gels are a popular tool used in photography and videography to change the color temperature and create unique lighting effects. When selecting gels, consider the type of effect you wish to achieve, and choose a color that complements the scene. Some gels are designed to be used in specific lighting conditions, so ensure you have the right type of gel for the situation you’ll be filming in. This can help you achieve a more natural-looking scene while maintaining accurate color representation.
In conclusion, using gimbles with filters and gels is a great way to enhance your photography and videography. However, there are several important factors to consider before adding filters and gels to your camera. Ensure that the filter or gel matches the correct size of your camera lens, and take the time to balance your gimbal correctly. Use polarizing filters for outdoor shoots and avoid light leaks by seatling the filter or gel correctly and using gaffer tape if needed. Lastly, select the right type of gel for the scene you’ll be filming in. By following these tips, you’ll be able to get the most out of your gimbal when using filters and gels, and create stunning, professional-grade footage.

