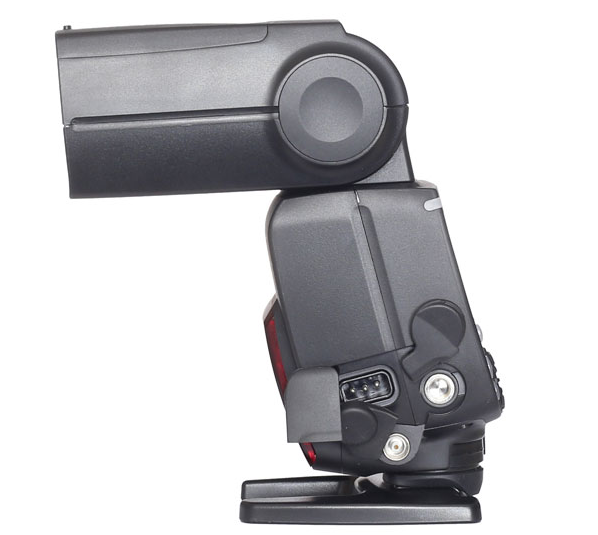
Using a diffuser with a detachable camera flash can help to create soft and natural-looking lighting in your photographs. A diffuser is a translucent material that is placed in front of the flash to soften the light and reduce harsh shadows. In this essay, we will explore how to use a diffuser with a detachable camera flash.
-
Choose the Right Diffuser
The first step in using a diffuser with a detachable camera flash is to choose the right diffuser. Diffusers come in various shapes and sizes, and it’s important to choose one that is appropriate for the type of photography you will be doing. For example, a larger diffuser may be appropriate for portrait photography, while a smaller one may be better suited for product photography. It’s also important to choose a diffuser that is compatible with your detachable flash unit.
-
Attach the Diffuser to the Flash Unit
Once the right diffuser is chosen, it’s time to attach it to the flash unit. Most diffusers come with a Velcro strap or other fastener that can be attached to the flash unit’s speedring or adapter. The diffuser is then attached to the strap using Velcro or other fasteners. It’s important to secure the diffuser tightly to prevent it from falling off during the shoot.
-
Set Up the Camera and Flash
Once the diffuser is attached to the flash unit, it’s time to set up the camera and flash. This may involve setting the aperture and shutter speed to control the depth of field and exposure, or using a tripod to stabilize the camera. The flash unit should also be set to manual mode to allow for full control over the output.
-
Position the Diffuser
Once the camera and flash are set up, it’s important to position the diffuser appropriately. This may involve adjusting the height and angle of the diffuser to achieve the desired effect. It’s important to position the diffuser close enough to the subject to create soft and diffused lighting, but not so close that it creates harsh shadows or hot spots.
-
Adjust the Flash Output
The output of the flash can be adjusted manually to control the amount of light that is emitted. This can be done by adjusting the power level on the flash unit, or by using a flash meter to determine the appropriate settings. It’s important to experiment with different flash output levels to achieve the desired effect.
-
Consider Using a Reflector
A reflector can be used in conjunction with a diffuser to bounce light back onto the subject and create a more even lighting effect. This can be particularly effective for portrait photography, where it can help to fill in shadows and create a more natural-looking image. A reflector can be positioned opposite the diffuser to bounce light back onto the subject.
-
Experiment with Different Lighting Setups
To achieve the best possible results, it’s important to experiment with different lighting setups. This may involve adjusting the angle and height of the diffuser, changing the output level of the flash, or using different types of reflectors. By experimenting with different lighting setups, you can find the best possible setup for the type of photography you are doing.
-
Edit the Photos
Once the shoot is complete, it’s important to edit the photos to enhance their quality and remove any distractions. This may involve adjusting the exposure, contrast, or color balance, or removing any distracting elements from the background.
In conclusion, using a diffuser with a detachable camera flash can greatly enhance the quality of your photos. By choosing the right diffuser, attaching it to the flash unit, setting up the camera and flash, positioning the diffuser appropriately, adjusting the flash output, and experimenting with different lighting setups, you can create professional-looking photos with soft and natural-looking lighting. Whether you’re doing portrait photography, product photography, or other types of shoots, a diffuser can be a valuable tool in your lighting arsenal.

