Testing your hoverboard charger is an essential step to ensure its functionality and safety. A faulty or damaged charger can lead to inefficient charging, damage to your hoverboard, or even pose a safety risk. In this essay, we will discuss the steps involved in testing your hoverboard charger to ensure optimal performance and safety.
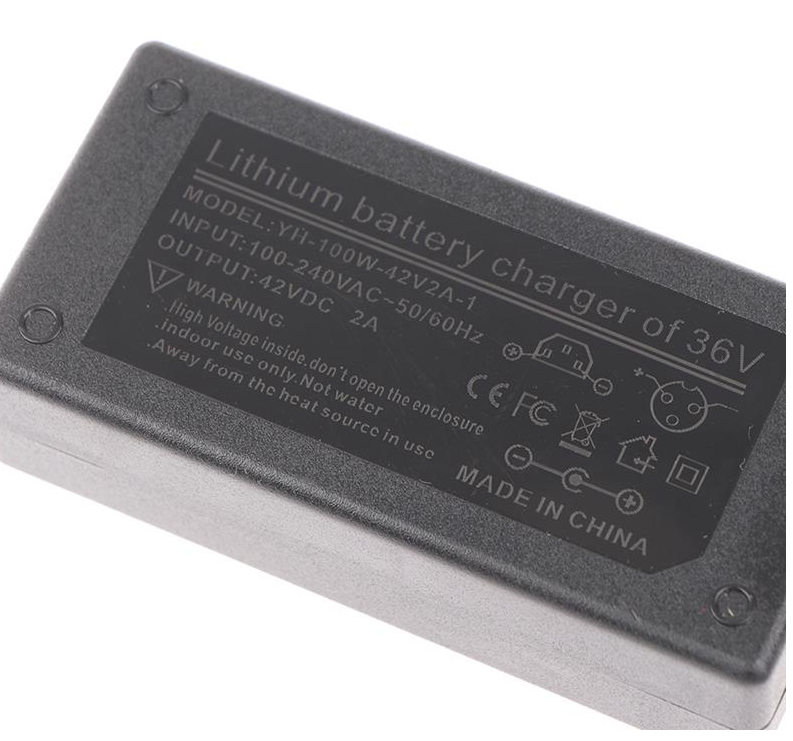
- Visual Inspection The first step in testing your hoverboard charger is to perform a visual inspection. Check the charger’s cord for any signs of fraying, wear, or damage. Inspect the connectors and pins for any bent or broken parts. If you notice any visible damage, it is crucial to replace the charger rather than attempting to use it. A damaged charger can be a safety hazard and may not provide the proper charging voltage and current required by your hoverboard.
- Voltage Measurement To test the voltage output of your charger, you will need a digital multimeter. Set the multimeter to DC voltage mode and ensure it is calibrated correctly. Plug the charger into a power outlet and connect the multimeter’s positive probe to the positive terminal of the charger’s output connector. Connect the negative probe to the negative terminal of the output connector. Ensure that the probes make proper contact with the terminals. The multimeter should display the voltage output of the charger. Compare the measured voltage with the manufacturer’s specified output voltage. If the measured voltage is significantly lower or higher than the specified voltage, it indicates a problem with the charger.
- Amperage Measurement In addition to voltage, it is important to test the amperage output of your charger. Amperage is a measure of the charging current, and it helps determine the charger’s charging speed. To measure the amperage, connect the multimeter’s positive probe to the positive terminal of the charger’s output connector and the negative probe to the negative terminal. Set the multimeter to DC current mode and ensure it is calibrated correctly. Plug the charger into a power outlet and turn it on. The multimeter should display the charging current. Compare the measured amperage with the manufacturer’s specified output amperage. If the measured amperage is significantly lower than the specified amperage, it indicates a problem with the charger.
- Charging Test Another way to test your hoverboard charger is to perform a charging test. Connect the charger to your hoverboard, ensuring that the connectors make a secure and proper connection. Plug the charger into a power outlet and turn it on. Observe the charging process to ensure that the hoverboard’s battery is being charged. Pay attention to the charging LED lights on the hoverboard, which indicate the charging status. If the hoverboard does not show any signs of charging or the LED lights do not function correctly, it may indicate a problem with the charger.
- Temperature Monitoring During the testing process, it is important to monitor the temperature of the charger. Feel the charger’s body and cord while it is in use. If the charger feels excessively hot to the touch or emits a burning smell, immediately unplug it from the power source. Overheating can indicate a malfunctioning charger, which may cause damage to your hoverboard or pose a safety risk.
- Safety Features Some hoverboard chargers come with built-in safety features such as short circuit protection, overcharge protection, and temperature control. These features help protect your hoverboard and charger from potential damage or hazards. Test the safety features by deliberately creating a short circuit or overloading the charger. Observe how the charger reacts and whether it shuts off or displays any warning signs. If the safety features do not function as intended, it may indicate a problem with the charger.
- Professional Inspection If you are unsure about the testing process or suspect a problem with your charger, it is advisable to seek professional help. A qualified technician or the manufacturer’s service center can perform a thorough inspection and testing of your charger. They have the expertise and tools to identify any issues and provide appropriate solutions. Professional inspection is particularly important if you have concerns about the charger’s safety or if it has experienced physical damage.
In conclusion, testing your hoverboard charger is crucial to ensure its functionality, efficiency, and safety. By performing a visual inspection, measuring voltage and amperage, conducting a charging test, monitoring the temperature, and checking the safety features, you can identify any potential issues with your charger. If you suspect a problem or are unsure about the testing process, seek professional assistance. Regular testing and maintenance of your hoverboard charger will help prolong its lifespan, protect your hoverboard, and ensure safe and efficient charging.