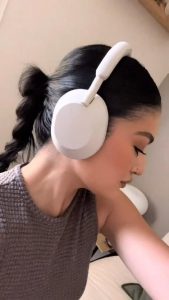
Sony headphones are known for their quality sound and comfortable design. But like any other frequently used item, they can get dirty over time. Regular cleaning helps maintain hygiene and optimal sound quality. Here’s a guide on how to clean your Sony headphones, ensuring they stay fresh and functional for longer.
Understanding Your Sony Headphones
The first step is to identify the type of Sony headphones you have. Sony offers a wide range of headphones, from in-ear earbuds to wireless over-ear models. The cleaning process might differ slightly depending on the type.
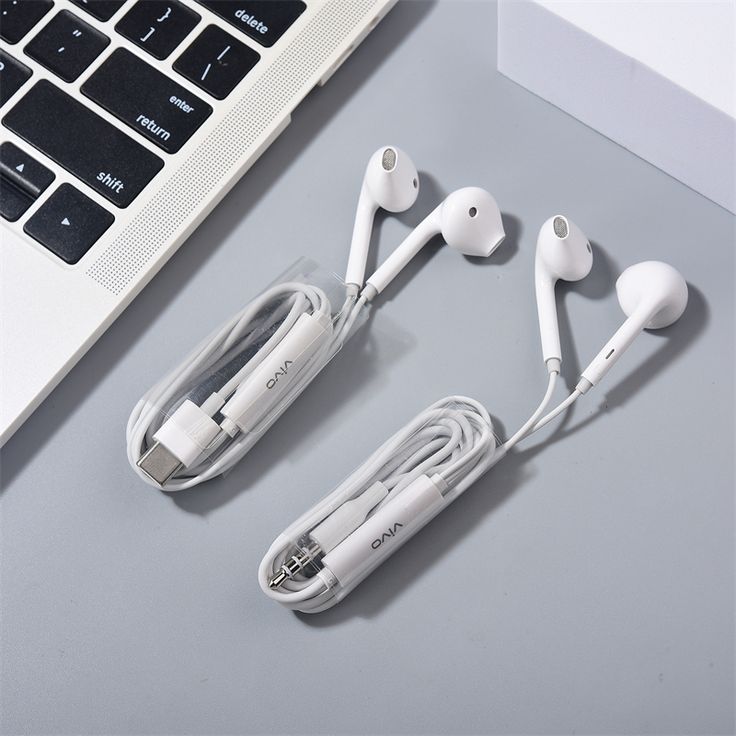
In-ear headphones:
These typically consist of silicone or rubber ear tips attached to a plastic housing.
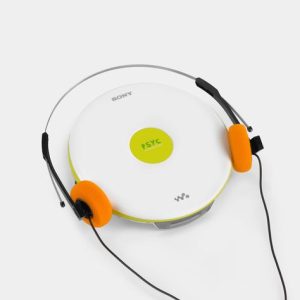
On-ear headphones:
These headphones rest directly on your ears. They may have ear cups made of leather, pleather, or fabric.
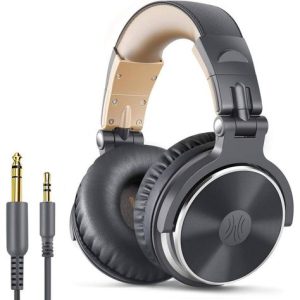
Over-ear headphones:
These headphones completely encircle your ears. They often have large ear cups made of similar materials to on-ear headphones.
Knowing your headphone type helps you choose the appropriate cleaning methods.
Essential Cleaning Tools
Here are some essential tools you’ll likely need to clean your Sony headphones:
- Soft, lint-free cloth: A microfiber cloth is ideal for cleaning delicate surfaces without scratching.
- Cotton swabs: These are useful for cleaning tight spaces and crevices.
- Mild soap (optional): A mild dish soap solution can be used for certain cleaning tasks, but be sure to dilute it properly.
- Disinfecting wipes (optional): Alcohol-free disinfecting wipes can be used to sanitize the ear cups and headband.
Important Note: Avoid harsh chemicals, solvents, or abrasive cloths, as they can damage the headphones.
Cleaning In-Ear Headphones
- Detach the ear tips: Most Sony in-ear headphones have removable ear tips. Gently pull the tips out of the housing.
- Clean the ear tips: Wash the ear tips with warm water and a mild soap solution. You can also use a disinfectant wipe (check the wipe’s ingredients to ensure it’s safe for silicone or rubber).
- Dry the ear tips completely: Use a clean cloth to dry the ear tips thoroughly before reattaching them. Moisture can damage the speakers.
- Clean the housing: Use a slightly damp microfiber cloth to wipe down the exterior of the headphone housing. Avoid getting any moisture near the speaker mesh.
Cleaning On-Ear and Over-Ear Headphones
- Clean the ear cups: For leather or pleather ear cups, use a damp microfiber cloth to wipe away dirt and dust. You can use a mild soap solution for tougher grime, but be sure to wring out the cloth thoroughly to avoid soaking the ear cups.
- Fabric ear cups: Some Sony headphones have fabric ear cups. Check the care instructions for your specific model, as some fabric ear cups might be removable and washable.
- Headband: Wipe down the headband with a damp microfiber cloth. For stubborn stains, a mild soap solution might be helpful.
- Cleaning the crevices: Use a cotton swab dipped in rubbing alcohol to clean any tight spaces or crevices around the headphone hinges or buttons.
Important Note: Always be gentle when cleaning, especially around the speaker mesh and any buttons or ports.
General Upkeep Tips
Here are some additional tips to keep your Sony headphones clean and functional:
- Store them properly: When not in use, store your headphones in their carrying case to protect them from dust and scratches.
- Wipe them down regularly: Wipe down your headphones with a microfiber cloth after each use to remove sweat and earwax buildup.
- Don’t share ear tips: Sharing ear tips can spread bacteria. It’s best to have your own pair.
By following these cleaning tips, you can keep your Sony headphones looking and sounding their best. Regular cleaning extends the lifespan of your headphones and ensures optimal sound quality for your listening pleasure.
Absolutely! Here’s how we can continue the guide on cleaning Sony headphones:
Advanced Cleaning (Optional)
For tougher grime or a deeper clean, you can try these methods, but proceed with caution:
- Mesh Covers: Some Sony headphones have removable mesh covers over the speakers. If your model allows it, check the manual for instructions on safe removal and cleaning. Never try to force the mesh cover off!
- Hydrogen Peroxide (Optional): A diluted solution of 3% hydrogen peroxide and water can sometimes help remove stubborn earwax buildup from the speaker mesh. Only use a very small amount on a cotton swab, and avoid letting any moisture seep into the headphones.
Important Note: These methods can be risky if not done correctly. If you’re unsure about any step, consult the Sony user manual for your specific headphone model or contact Sony customer support for assistance.
Seeking Professional Help
If your Sony headphones are heavily soiled or have complex cleaning requirements, consider seeking professional cleaning services. Many electronics stores or audio specialists offer cleaning services for headphones.
By following these cleaning tips and recommendations, you can effectively maintain your Sony headphones. Regular cleaning keeps them looking their best and ensures optimal sound quality for an enjoyable listening experience.
Disinfecting Your Sony Headphones (Optional)
While regular cleaning removes dirt and dust, you might also consider occasional disinfection to minimize germs. Here’s how to disinfect your Sony headphones safely:
- Alcohol-free Disinfecting Wipes: Look for disinfecting wipes specifically labeled as safe for electronics. These wipes are often gentle and effective for sanitizing the outer surfaces of your headphones, like the ear cups and headband.
Important Note: Do not use regular wipes or harsh chemicals, as they can damage the material of your headphones.
- Focus on High-Touch Areas: Pay particular attention to frequently touched areas like the ear cups, buttons, and control pad.
- Let it Air Dry: After wiping, allow the headphones to air dry completely before using them again.
Traveling with Your Sony Headphones
If you take your Sony headphones on the go, here are some tips to keep them clean and protected:
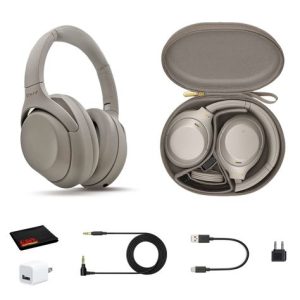
- Carrying Case: Always store your headphones in their designated carrying case when not in use. This protects them from scratches, dust, and other damage.
- Cleaning Before and After Trips: Consider giving your headphones a quick wipe down with a microfiber cloth before and after traveling to remove any built-up dust or debris.
Conclusion: Lasting Performance for Your Sony Headphones
By following these cleaning and care tips, you can extend the lifespan of your Sony headphones and ensure they continue to deliver optimal sound quality for years to come. Regular cleaning and proper storage go a long way in maintaining your headphones and enhancing your listening experience.


