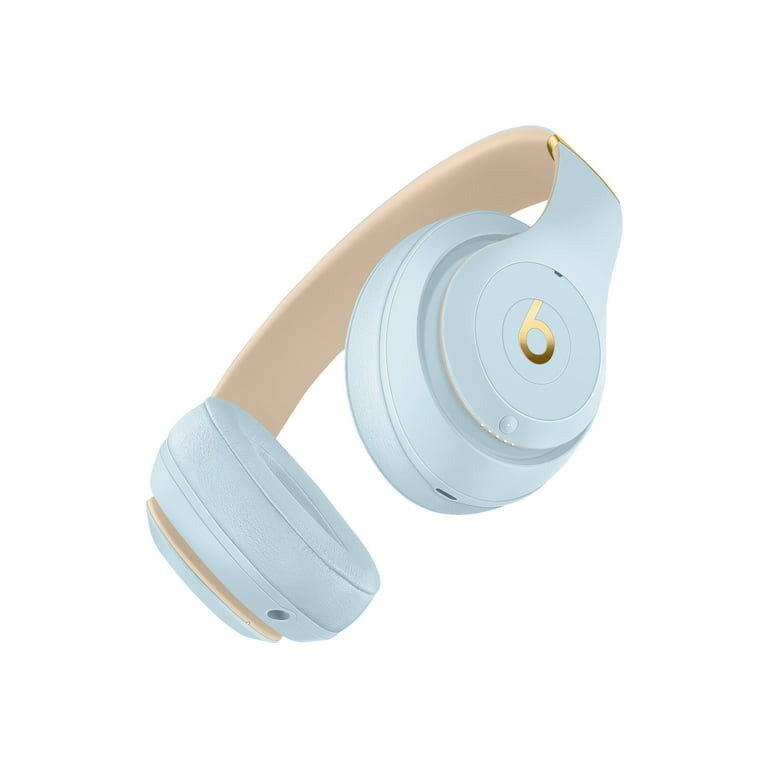
Connecting wireless headphones to a laptop can enhance your audio experience, whether you’re streaming music, watching movies, or participating in virtual meetings. Here’s a detailed guide on how to connect wireless headphones to a laptop, along with important considerations to ensure a seamless connection.
Verify Your Laptop’s Bluetooth Capability
Here’s how you can check:
Step 1: Access the Device Manager
Go to the search bar next to the Start menu and type ‘Device Manager’, then select it from the search results.
Step 2: Look for Bluetooth in the List
In the Device Manager window, scan the list for a Bluetooth category. If you see it, your laptop has Bluetooth capabilities.
Step 3: Update Bluetooth Drivers
If Bluetooth is listed, but you encounter connection issues, try updating the drivers. Right-click on the Bluetooth category and select ‘Update driver’.
Step 4: Enable Bluetooth
Make sure Bluetooth is turned on. You can usually do this by pressing a dedicated Bluetooth button or by enabling it in your laptop’s settings.
If you don’t find Bluetooth listed in Device Manager, or there’s no Bluetooth switch in your settings, your laptop might not have Bluetooth functionality. In such a case, consider getting a Bluetooth adapter to add this capability to your laptop. Ensuring your laptop has Bluetooth capability is the first critical step in connecting to wireless headphones smoothly.
Preparing Your Wireless Headphones for Pairing

Here’s a simple guide to get your headphones ready for pairing:
Charge Your Headphones
Ensure your wireless headphones have sufficient battery life. Charge them fully before attempting to connect.
Activate Pairing Mode
Turn on the pairing mode on your headphones. Usually, this involves holding a button until you see a flashing light.
Disconnect from Other Devices
Make sure your headphones aren’t connected to any other device. If they are, disconnect them.
Keep Your Headphones Close
Your laptop and headphones should be close to each other, ideally within a few feet, to avoid any connectivity issues.
Accessing the Bluetooth Settings
Go to the Start menu on your laptop and type ‘Settings’ in the search bar. Click on the ‘Settings’ app when it appears. In the Settings menu, find and select ‘Devices’ to open up the devices settings. Here, you’ll find ‘Bluetooth & other devices’. Click on it to open your Bluetooth settings panel.
Enabling Bluetooth Functionality
If Bluetooth is not already turned on, there will be an option to enable it. Look for a toggle switch or a button labeled ‘Bluetooth’ and switch it to ‘On’. This action activates the laptop’s Bluetooth function, making it discoverable to other devices.
Ensuring Visibility
For your laptop to be visible to your headphones, ensure that the visibility option is turned on. This is often found in the same Bluetooth settings menu and may be labeled as ‘Allow devices to find this PC’ or ‘Make this PC discoverable’. Check this option to ensure others can connect to your laptop.
By carefully following these steps, you move one step closer to connecting your wireless headphones with your laptop, ensuring that all necessary functions are enabled and accessible. This setup paves the way for a seamless pairing process, which we will cover next in the initiating the pairing process section of this guide.
Initiating the Pairing Process
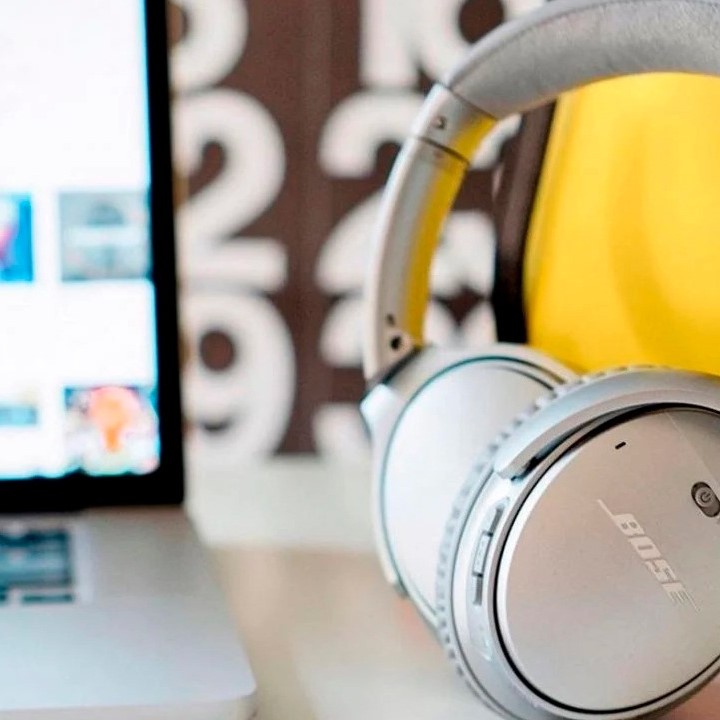
Once your laptop’s Bluetooth is on, and your headphones are ready, you can start the pairing process. Here are simple steps to guide you through the process:
Step 1: Open the Bluetooth Settings
Go back to the ‘Bluetooth & other devices’ section in your laptop’s settings.
Step 2: Add a New Device
Click on the ‘Add Bluetooth or other device’ button to start searching for devices.
Step 3: Select Your Headphones
Wait for your laptop to display a list of nearby devices. Find and select your headphones from the list.
Step 4: Confirm the Pairing
If prompted, confirm the pairing on your laptop and your headphones. You may need to enter a passcode.
Step 5: Watch for a Success Notification
Wait for a notification that confirms the headphones are paired with your laptop.
By following these concise steps, you should be able to pair your wireless headphones with your laptop. If your headphones don’t appear in the list, ensure they are in pairing mode and try again.
Troubleshooting Common Connection Issues
Even with precise instructions on how to connect wireless headphones to a laptop, issues can arise. Addressing common connection problems helps enhance the pairing process. Here are a few tips to troubleshoot these issues effectively:
Check for Interference
Other devices might interfere with your Bluetooth signal. Make sure there are no other active Bluetooth devices nearby when trying to pair.
Restart the Devices
Sometimes, simply restarting your laptop and headphones can resolve connectivity issues. This refreshes the devices’ settings and eliminates minor glitches.
Update Bluetooth Drivers
If your headphones connect but frequently disconnect, try updating your laptop’s Bluetooth drivers. This ensures your Bluetooth adapter operates with the latest improvements and bug fixes.
Ensure Headphones Are in Pairing Mode
Headphones need to be in pairing mode to connect. Double-check that your headphones indicate pairing readiness, usually through a blinking light.
Re-pair the Devices
If initial pairing fails, remove the headphones from your laptop’s Bluetooth device list and try pairing again.
By implementing these troubleshooting steps, you can often resolve common connection issues and enjoy a smoother wireless experience with your headphones.
Completing the Headphone Pairing

Confirm the Connection
Once you see the pairing confirmation on your laptop, make sure the headphones also signal a connection. This is often indicated by a steady light or a specific sound tone.
Test the Audio
Play an audio file or a video to test the sound. If there’s no sound, check the laptop’s volume settings or the headphones’ volume control. Make sure the volume is not set to mute.
Set as Default Device
To avoid having to select your headphones each time, set them as the default playback device. Go to ‘Sound’ settings in your laptop’s control panel. Right-click on your headphones in the playback tab and select ‘Set as Default Device’.
Troubleshoot If Necessary
By ensuring each of these steps is carefully followed, your wireless headphones should be successfully paired and ready for use with your laptop.
Exploring Frequently Asked Questions
Let’s tackle the most common questions to ensure you have all the information you need for a successful connection.
How do I make my laptop discoverable?
Turn on your laptop’s Bluetooth setting and choose the option to make your device visible to other Bluetooth devices.
What if my laptop asks for a PIN?
Some headphones require a PIN for pairing; check the product manual for this PIN, often ‘0000’ or ‘1234’.
By addressing these frequently asked questions, you’re ready to make the most of your wireless headphones with your laptop, enjoying a seamless audio experience.
Tips for a Successful Wireless Headphone Connection
Here are some key points to consider for a smooth and effective headphone connection:
Choose Compatible Headphones
Make sure that the wireless headphones are compatible with Bluetooth standards supported by your laptop. Check the headphone specifications for compatibility.
Maintain a Clear Environment
Avoid physical obstacles between your laptop and headphones. Walls, furniture, and other objects can disrupting the Bluetooth signal.
Keep the Software Updated
Update your laptop’s operating system and Bluetooth drivers regularly. This helps in maintaining optimal connectivity and resolving potential bugs.
Monitor Battery Levels
Ensure your headphones are sufficiently charged before pairing. Low battery can affect the connection quality and stability.
Stay Within Range
Keep your headphones within the Bluetooth range, typically around 30 feet from your laptop, for a stable connection.
By focusing on these simple steps, you can enhance your experience and enjoy seamless audio with your wireless headphones paired to your laptop.
Enjoying Your Wireless Headphones
- Explore Features: Many wireless headphones come with additional features such as touch controls or voice assistant support. Explore these functionalities to make the most of your listening experience.
- Customization: Take advantage of any companion apps offered by the headphone manufacturer. These apps may allow you to customize equalizer settings, control noise cancellation, or manage battery levels.
- Frequent Use: Incorporate your wireless headphones into your daily routine—whether while working, exercising, or relaxing—to truly appreciate the convenience and quality they bring to your audio experience.
- Share the Experience: If you enjoy shared listening experiences, consider the capabilities of your headphones regarding multi-device connectivity. This can allow you to enjoy music or movies with friends and family seamlessly.
In conclusion, connecting wireless headphones to your laptop is a straightforward process if you follow these steps. By ensuring compatibility, preparing your headphones, and utilizing effective troubleshooting techniques, you can enjoy high-quality audio without the hassle of wires.

