Resetting your Skullcandy wireless headphones can solve a variety of issues, whether you’re experiencing connectivity problems, audio distortions, or battery management irregularities. Understanding how to reset Skullcandy wireless headphones is essential for maintaining optimal performance and enjoying that high-quality sound signature these headphones are known for. Below, we explore the essential steps and considerations for performing a successful reset.
Introduction to Skullcandy Wireless Headphones
Skullcandy wireless headphones deliver high-quality audio with the freedom of no cords. Known for their comfort and sound, they’re a popular choice for music lovers. When you first buy them, setting them up is simple. You pair them with your device, and you’re ready to go. But sometimes, you might face issues. Maybe your headphones won’t connect, or they start acting up. Don’t worry. Most problems have easy fixes, like resetting your headphones.
Resetting puts your headphones back to their default state. This wipes out any stored connections and settings. It can help fix many common problems. If you’re asking ‘how to reset Skullcandy wireless headphones’, this guide has you covered. We’ll walk you through the reset steps. Also, we’ll tackle some other issues you might run into, like charging troubles. By the end, you’ll know how to keep your headphones working their best. So let’s get started and learn how to reset and maintain your Skullcandy wireless headphones.
Step-by-Step Guide to Resetting Your Headphones
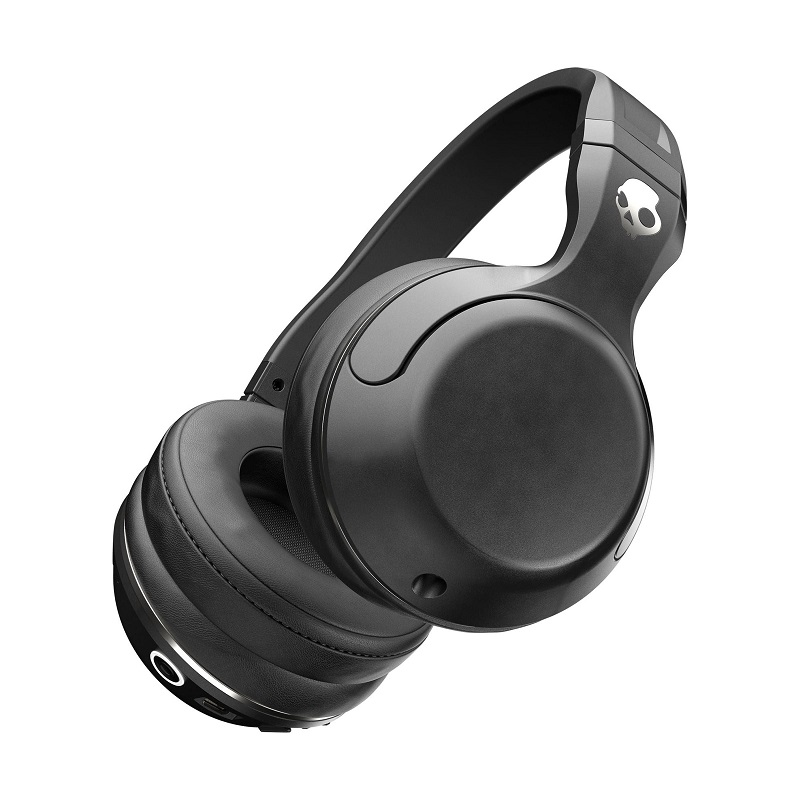
Resetting your Skullcandy wireless headphones is straightforward. Follow these steps to ensure a successful reset:
- Unpair the Headphones: Start by removing the headphones from your device’s Bluetooth list. This clears previous connections.
- Enter Reset Mode: Simultaneously press and hold the main button and the volume down button for 3 seconds. You will see the LEDs flash, indicating the headphones have entered reset mode.
- Pairing Mode Activation: After flashing, a voice prompt will say ‘Disconnected’. The headphones will then automatically enter pairing mode. Another prompt will say ‘Pairing’.
- Reconnect: Turn on the Bluetooth on your device and search for ‘Riff Wireless’. Select it to pair. Once connected, a voice prompt will confirm ‘Connected’.
By following these steps, you can reset your Skullcandy wireless headphones and resolve common connection issues. Remember, resetting restores the headphones to factory settings, clearing all previous data and settings.
Troubleshooting Connection Issues
When you know how to reset Skullcandy wireless headphones, but still face issues, troubleshoot further. Here’s how:
- Check Bluetooth Connectivity: Verify that your device’s Bluetooth is on. Look for ‘Riff Wireless’ in your Bluetooth settings. If you don’t see it, refresh the list.
- Observe Distance and Obstacles: Ensure no walls or objects are between your device and the headphones. Stay within the recommended range.
- Recharge Your Headphones: Low battery can cause connection problems. Plug in your headphones to charge them for a bit, then try again.
- Forget Device and Re-pair: On your device, select the ‘Forget this Device’ option for your headphones. Then, reconnect by following the pairing process.
- Firmware Update: Check for available firmware updates. These can improve performance and fix connectivity issues.
- Interference from Other Devices: Other wireless devices can interfere. Turn off other Bluetooth devices nearby and try connecting again.
If these steps don’t fix the connection issues, read the manual or contact Skullcandy support for help. Keep patience, as sometimes these tech issues take time to resolve.
What to Do If Your Headphones Won’t Charge
Sometimes, your Skullcandy wireless headphones might not charge properly. This can be frustrating, but often, simple steps can solve the issue. Here’s what you can do:
- Check the Connection: Ensure the USB charging cable is securely plugged into both the headphones and the power source.
- Inspect the Charging Cable: Look for any signs of damage on the cable. If it’s frayed or torn, replace it.
- Examine the Charging Port: Debris in the charging port can prevent a good connection. Gently clean the port using a small, dry, soft-bristled brush.
- Use the Correct Charger: Not all chargers work with every device. Use a charger that matches the recommended power specifications for your headphones.
- Reset the Headphones: If nothing else works, try resetting your headphones. Follow the steps outlined in the previous sections of this guide.
If the LED indicator does not light up during charging, the headphones might have a deeper issue. In such cases, visiting the Skullcandy warranty page for possible replacement is recommended, as all Skullcandy products come with a 1-year warranty.
Tips for Maintaining Your Skullcandy Headphones

Taking good care of your Skullcandy wireless headphones can extend their life and keep them working like new. Here are a few maintenance tips to follow:
- Keep Them Clean: Regularly clean your headphones. Wipe the ear cups and headband with a soft, dry cloth. Avoid using wet wipes as moisture can harm the electronics.
- Store Correctly: When not in use, store your headphones in a safe place. A protective case reduces the risk of damage from drops or pressure.
- Avoid Extreme Temperatures: Keep your headphones away from extreme heat or cold. These conditions can affect battery life and overall functionality.
- Manage Battery Life: Do not overcharge the headphones. Unplug them once fully charged to maintain battery health.
- Handle with Care: Be gentle when you use and store your headphones. Rough handling can break delicate parts.
Following these tips will keep your headphones in prime condition, ensuring you enjoy your music without hiccups. Remember, prevention is better than cure, so take good care of your Skullcandy headphones to avoid needing to reset them frequently.
Understanding the Indicator Lights
Indicator lights on Skullcandy wireless headphones can give you vital information about their status. Different lights indicate different modes or concerns:
- Blinking Blue and Red Lights: These lights appear when your headphones are ready to pair with a device.
- Solid Red Light: This indicates that your headphones are currently charging.
- Blinking Red Light: If you see a blinking red light when you expect the headphones to be charging, this could be a sign of charging issues.
- Solid Green Light: A green light shows that the headphones are fully charged. This light will turn on when the charging is complete.
- No Light: If no lights are showing, the headphones might be powered off or the battery could be depleted. It could also indicate a need for resetting.
Understanding these indicator lights can help you maintain your headphones and troubleshoot issues quickly. If the lights do not behave as expected, consider resetting the headphones, as described in the previous sections.
Warranty and Support for Skullcandy Headphones
If your Skullcandy wireless headphones are not working, even after a reset, don’t fret. Skullcandy offers a generous one-year warranty. Under this warranty, they may replace or fix your damaged or non-working headphones. Here’s a quick guide on warranty and support:
- Check Warranty Eligibility: Go through your purchase details. Make sure your headphones are still within the warranty period.
- Gather Proof of Purchase: Have your receipt or order confirmation ready. Skullcandy will likely ask for this to process a claim.
- Inspect for Physical Damage: Look over your headphones for signs of misuse. The warranty may not cover damage from accidents or abuse.
- Visit the Support Page: Go to Skullcandy’s official website. Navigate to their support or warranty claim section.
- File a Claim: Fill in the required details. Describe the issue and attach any relevant purchase documentation.
- Follow Instructions: Skullcandy may provide specific directions. They could ask you to send your headphones in for inspection.
If the warranty period has expired, Skullcandy may still offer support. Check their website for troubleshooting guides or contact their customer service team for help. By reaching out, you may find a solution or learn how to access paid repair services.
Final Thoughts on Skullcandy Wireless Headphone Care
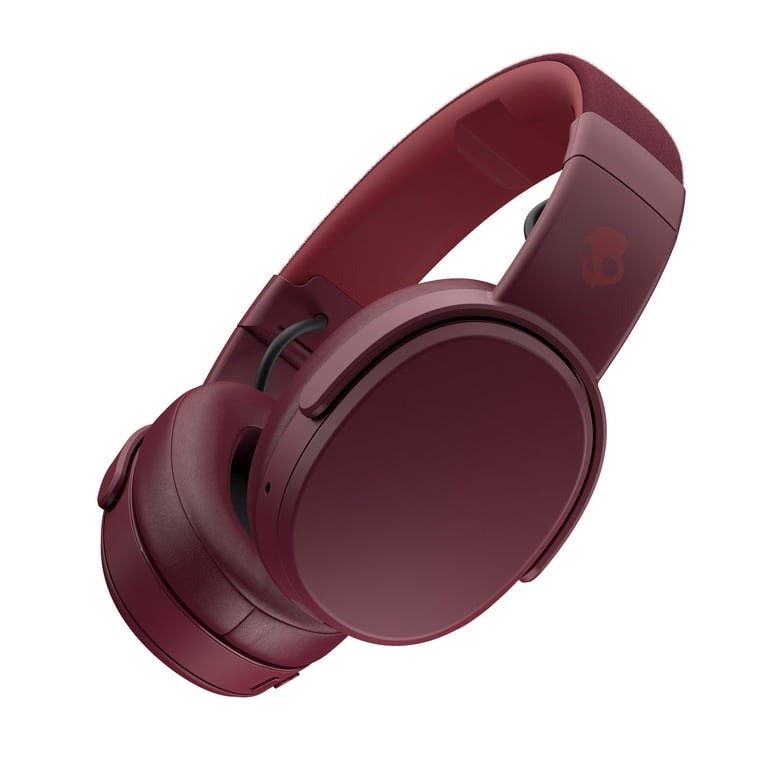
Taking care of your Skullcandy wireless headphones is straightforward and crucial for their longevity. Here are some simple, yet effective tips to ensure they stay in prime condition:
- Clean Regularly: Wipe your headphones with a soft, dry cloth. This keeps the electronics safe from moisture.
- Proper Storage: Use a protective case to minimize risk of damage when not in use.
- Avoid Extreme Weather: Don’t expose headphones to very hot or cold temperatures. It affects their functioning.
- Charge Responsibly: Don’t overcharge the headphones; disconnect when fully charged.
- Handle Gently: Be careful not to drop or compress your headphones. They are delicate.
In cases where you encounter issues, keep calm and try the troubleshooting steps earlier discussed. If those efforts fail, remember you are covered with a one-year warranty. Check your purchase details for warranty eligibility. If it’s valid, file a claim on Skullcandy’s support page. Even outside the warranty, Skullcandy’s customer service can provide guidance and paid repair options.
Your Skullcandy headphones are designed to provide excellent sound quality and durability. With proper care and attention, you can enjoy uninterrupted music for years. If problems arise, use your warranty or contact support. Remember, treating your headphones well means they will take care of your listening needs perfectly.


