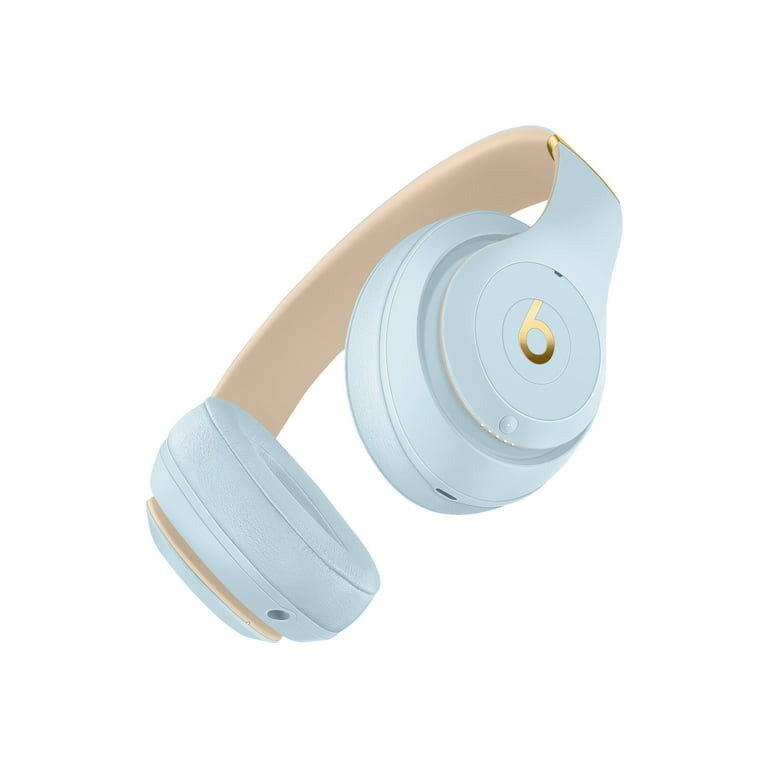
Pairing your Skullcandy Bluetooth headphones can seem daunting if you’re new to Bluetooth technology. However, with a few simple steps, you can seamlessly connect your headphones to various devices. This guide will explore how to pair Skullcandy Bluetooth headphones, ensuring you enjoy your audio experiences without any hassles.
Introduction to Skullcandy Bluetooth Headphones
Skullcandy is a brand known for its distinct style and sound. Their Bluetooth headphones are a favorite for music lovers on the go. With wireless convenience and quality audio, Skullcandy headphones offer a unique listening experience. Whether you’re commuting, at the gym, or relaxing at home, they provide uninterrupted audio playback.
Before learning how to pair Skullcandy Bluetooth headphones, it’s important to understand their features. These headphones come with a range of functions. They include noise isolation, long battery life, and intuitive controls. They cater to your listening needs and ensure a smooth, hassle-free experience.
Pairing your Skullcandy headphones with your device enhances your audio experience. Once connected, you can enjoy your music without tangling with cords. You’ll also be able to take calls with the built-in microphone.
Stay tuned as we guide you through the simple steps to pair your Skullcandy Bluetooth headphones. We will ensure that your device is ready to deliver high-quality sound wherever you go. This guide will cover charging, initiating pairing mode, setting up Bluetooth, and troubleshooting.
Preparing Your Headphones for Pairing

Before you begin the process of pairing your Skullcandy Bluetooth headphones, it is crucial to prepare them properly. This preparation ensures that your headphones have enough power to sustain the pairing process and your subsequent listening session. Let’s get started by making sure your headphones are fully charged.
Charging Your Skullcandy Headphones
To charge your Skullcandy headphones, follow these simple instructions:
- Locate the USB charging cable that came with your headphones.
- Insert the smaller end of the USB cable into the charging port on your Skullcandy headphones.
- Plug the other end of the cable into a USB port on a computer or a USB wall charger.
- Keep an eye on the LED light on your headphones; a red light typically means they are charging.
- Once the LED light turns blue or turns off (depending on your model), your headphones are fully charged and ready to use.
It might take a few hours to get a full charge, so plan accordingly before you need to use them. A full charge can usually provide several hours of listening time, but this varies between different models. Refer to your headphone’s user manual for exact details on battery life and charge time. With your Skullcandy Bluetooth headphones now charged, you’re ready to proceed to the next step – initiating pairing mode.
Initiating Pairing Mode
Now that your Skullcandy Bluetooth headphones are charged, it’s time to initiate pairing mode. This is an essential step to connect your headphones with your device. Starting pairing mode allows your device to discover and connect to your headphones.
Finding the Pairing Button
To begin with, locate the pairing button on your Skullcandy headphones. It’s typically on the sides of the headphones or on one of the ear cups, marked with a Bluetooth symbol. Press and hold this button for a few seconds. Watch for the LED light to start flashing. This means your headphones are in pairing mode and ready for your device to find them.
Visual and Audio Indicators
When your Skullcandy headphones enter pairing mode, visual and audio clues help confirm the status. You will notice the LED light flashing rapidly, which is the visual indicator. Meanwhile, some models might also emit a sound or a voice prompt saying, “Pairing.” These indicators assure you that your headphones are correctly in pairing mode. Now, they’re ready for a connection with your Bluetooth-enabled device.
Setting Up Bluetooth on Your Device
To enjoy the full wireless capabilities of your Skullcandy Bluetooth headphones, the next step is setting up Bluetooth on the device you wish to pair them with.
Enabling Bluetooth on a Smartphone
Enabling Bluetooth on your smartphone is a breeze. Swipe down from the top of the screen to access the notifications panel. Locate the Bluetooth icon and tap it to turn on the feature. You may have to go into the settings menu and select ‘Bluetooth’ to make your device visible to others.
Once Bluetooth is active, your smartphone will automatically search for available devices. Remember, this process might vary slightly depending on whether you’re using an Android or iOS device. In both cases, ensure your Skullcandy headphones are in pairing mode as described in previous steps.
Pairing with Windows or Mac Computers
Pairing your Skullcandy headphones with a computer is similarly straightforward. On Windows, open the ‘Settings’ app, navigate to ‘Devices’, then select ‘Bluetooth & other devices’. Click ‘Add Bluetooth or other device’ to start the pairing process. For Mac users, click on the ‘Apple’ menu, then ‘System Preferences’, followed by ‘Bluetooth’. Wait for your Skullcandy headphones to appear in the list and click ‘Connect’.
Remember, if your computer doesn’t have Bluetooth built-in, you may need a Bluetooth adapter. Ensure your headphones are in pairing mode before attempting to connect. With these simple steps, your Skullcandy Bluetooth headphones should be successfully paired to your device, allowing you to enjoy a tangle-free audio experience.
Connecting to Skullcandy Headphones
Once your Skullcandy Bluetooth headphones are in pairing mode, and Bluetooth is enabled on your device, it’s time to connect them.
Selecting Your Headphones from the Device List
Your device should now show a list of available Bluetooth devices. Look for the name of your Skullcandy headphones. It might be the model number or a name you recognize. Tap on the headphone’s name to select it from the list. Your device will connect to the headphones. A confirmation message or sound will signal that the pairing is successful.
Remember to keep your device and headphones close to each other during this step. This ensures a quick and smooth pairing process. If you can’t find your headphones in the list, refresh the Bluetooth device list on your device.
Troubleshooting Common Pairing Issues
If you encounter problems, don’t worry. There are some common issues that are easy to fix:
- Headphones Not Found: Make sure your headphones are in pairing mode and close to your device.
- Pairing Unsuccessful: Turn off Bluetooth on your device and restart it. Then, attempt to pair again.
- Connection Keeps Dropping: Ensure there are no obstacles between your headphones and device. Also, check for interference from other wireless devices.
In most cases, these steps will solve pairing issues. If the problems persist, refer to your Skullcandy headphones’ manual or contact customer support for further assistance.
Ensuring Successful Connection

Once you’ve paired your Skullcandy Bluetooth headphones, the next critical step is to ensure the connection is fully established and stable. Successful pairing is indicated by an audio confirmation from the headphones or a notification on your device. However, it is always a good idea to test the audio output to confirm the connection.
Confirming the Audio Output
To confirm the audio output on your device, play some music or a video. Make sure the sound is coming through your Skullcandy headphones and not the device’s speakers. If not, check the audio settings on your device and select your Skullcandy headphones as the output device. This will channel the sound directly to your headphones.
Tips for Maintaining Stable Connection
To keep your connection strong, follow these simple yet effective tips:
- Stay within Range: Keep your device close to your headphones. Bluetooth typically works best within a 10-meter radius.
- Minimize Interference: Avoid physical barriers and electronic interference from other devices.
- Keep Batteries Charged: Ensure both the headphones and your device have adequate battery life to maintain the connection.
- Toggle Bluetooth: If you experience intermittent connections, toggle Bluetooth off and then on again on your device.
By following these guidelines, you can enjoy an uninterrupted and high-quality audio experience with your Skullcandy Bluetooth headphones. Remember these steps each time you connect to guarantee a seamless listening session.
Advanced Features and Controls

After pairing your Skullcandy Bluetooth headphones, you can explore advanced features. These enhance your listening experience. They equip you with more control and customization of your audio settings.
Using the Skullcandy App
The Skullcandy app offers a range of options to further personalize your sound. Download the app from your device’s app store. Once installed, connect your headphones to unlock features. You can adjust EQ settings, set a personal sound profile, and update firmware.
To use the app:
- Open the app store on your smartphone.
- Search for the Skullcandy app and download it.
- Open the app and follow instructions to pair your headphones.
- Customize your sound preferences and explore additional features.
The app also provides access to user manuals and customer support.
Understanding Voice Commands and Controls
Skullcandy Bluetooth headphones often come with voice command compatibility. This allows you to control music and calls hands-free. To use voice commands:
- Activate the voice control feature by tapping the designated button on your headphones.
- Speak clearly to give commands such as ‘play’, ‘pause’, or ‘next track’.
- Some models may connect with your phone’s assistant for added functionality.
By understanding these controls, you make your audio experience more interactive. It’s simple with a tap or voice command to take calls or change tracks.


