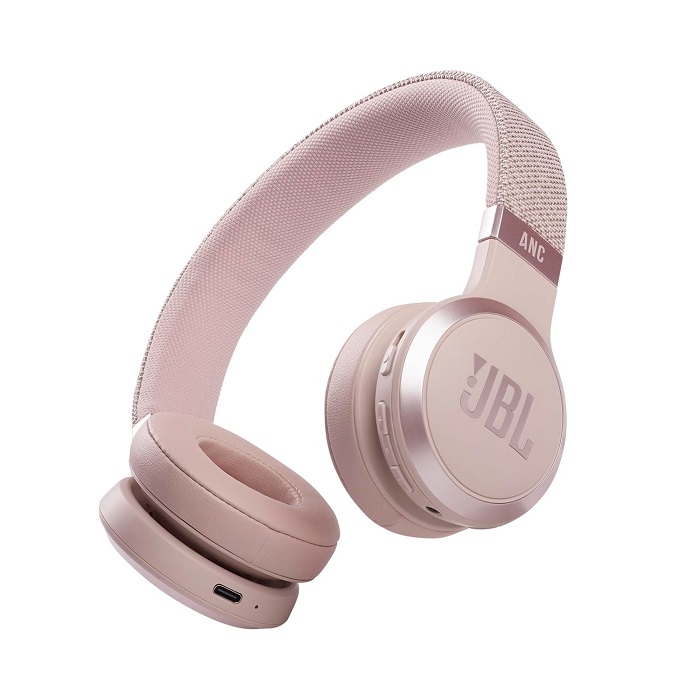
Connecting to JBL headphones can enhance your listening experience, whether you’re enjoying music, watching movies, or taking calls. Understanding how to connect to JBL headphones is essential for new users as well as those more familiar with the brand. Let’s delve into the seamless process of connecting your JBL headphones, ensuring that you maximize their potential.
Getting Started with Your JBL Headphones
To begin the process of connecting your JBL headphones, follow these straightforward steps.
Firstly, ensure your headphones are charged. This will prevent any power-related interruptions during the setup process. If needed, charge your headphones using the provided USB cable until they reach full battery.
Next, familiarize yourself with the controls on your JBL headphones. Identify the power and Bluetooth buttons, as you will need to use these to initiate pairing mode.
Now, you’re ready to take the first step toward seamless audio enjoyment. With your JBL headphones at hand and a compatible Bluetooth adapter for your TV, you’re set to dive into the pairing process. Keep on reading for a closer look at how to enable pairing mode on different JBL Headphone models such as the JBL Flip 4 and JBL E45BT/E55BT.
Identifying Compatible Bluetooth Adapters for TVs
Before you sync up your JBL headphones, it’s important to choose a compatible Bluetooth adapter for your TV. This device will serve as the bridge between your non-Bluetooth TV and your wireless headphones. Here’s what to look out for when selecting a Bluetooth adapter:
- Output Port Compatibility: Check the audio output ports on your TV. Most Bluetooth adapters support connections such as Digital Optical (TOSLINK or SPDIF), 3.5mm Auxiliary (headphone jack), and RCA (Red/White) ports.
- Bluetooth Version: Opt for an adapter that supports at least Bluetooth 4.0, ensuring it can communicate effectively with your JBL headphones.
- Range: Ensure the adapter has an adequate range, especially if you plan to move around or sit far from the TV.
- Pairing Capability: Choose an adapter that can easily enter pairing mode. This will simplify the process of connecting your JBL headphones.
- Audio Quality: Look for adapters that support codecs like aptX or AAC for the best audio performance without lag or loss of quality.
- Power Source: Determine whether the adapter needs a separate power source or if it uses USB power from the TV. This will affect where you can position it.
After identifying the right Bluetooth adapter, follow the instructions in the manual to connect it to your TV. Once connected, you’re well on your way to enjoying wireless audio with your JBL headphones.
Preparing Your TV for Bluetooth Connection
Before initiating the pairing process with your JBL headphones, prepare your TV for a Bluetooth connection. Here’s how you can set up your TV to connect with a Bluetooth adapter seamlessly.
- Find the Audio Output: Locate the audio output ports on your TV. Most televisions feature Digital Optical (TOSLINK or SPDIF), 3.5mm Auxiliary (headphone jack), or RCA (Red/White) ports.
- Connect the Bluetooth Adapter: Follow the manual to hook up your chosen Bluetooth adapter to the TV. Match the adapter’s plug to the suitable audio output port on your TV.
- Power On the Adapter: Turn on the Bluetooth adapter. Use a USB cable if it draws power from the TV or plug it into an outlet.
- Check Adapter Mode: Make sure the Bluetooth adapter is in pairing mode. Refer to the user manual to learn how to enable this mode.
- Select Correct TV Input: If necessary, use your TV remote to change the input source to the one connected to the adapter.
- Adjust TV Audio Output: If you’re using the Digital Optical connection, switch your TV’s digital audio format to PCM. This setting ensures compatibility with the Bluetooth adapter.
With these steps, your TV is now ready to pair with your JBL headphones. Ensure your Bluetooth adapter is close to your headphones for a strong connection. Next, we’ll guide you through initiating pairing mode on your JBL headphones.
Initiating Pairing Mode on JBL Headphones
To connect your JBL headphones to your TV’s Bluetooth adapter, pairing mode must be enabled. Here’s how you can enter pairing mode for different JBL headphone models.
Step-by-Step Instructions for JBL Flip 4
- Turn On: Press the Flip 4’s power button to switch it on.
- Activate Pairing: Press the Bluetooth button. You’ll hear a sound signal as confirmation.
- Wait for Connection: Keep the Flip 4 near your adapter until the devices pair.
Step-by-Step Instructions for JBL E45BT/E55BT
- Power Up: Make sure the headphones are on.
- Engage Pairing Mode: Press and hold the Bluetooth button for 5 seconds.
- Listen for Signal: You’ll receive an audio cue indicating that pairing mode is active.
Once you hear a beep or a tone that signifies that your JBL headphones are in pairing mode, they are ready to connect with your Bluetooth adapter. Next, we’ll discuss how to set up the Bluetooth adapter to complete the pairing process.
Setting Up Your Bluetooth Adapter for Pairing
To complete the connection between your TV and JBL headphones, setting up the Bluetooth adapter is a must. Follow these simple steps to get your adapter ready for pairing.
- Locate Pairing Mode: Check the user manual to locate the pairing mode button on your adapter.
- Activate Pairing Mode: With the Bluetooth adapter connected to your TV, press and hold the pairing mode button as directed.
- Confirmation: Wait for the adapter’s LED to blink or a sound indication that it is in pairing mode.
- Proximity: Ensure the Bluetooth adapter is close to your JBL headphones for a quick and efficient connection.
Once your adapter is in pairing mode, your JBL headphones should detect it shortly. When both devices are in pairing mode, they are ready to establish a connection. If they don’t connect automatically, you may need to select the Bluetooth adapter manually from your headphone’s connection options.
After a successful pairing, your TV audio should route through your JBL headphones. If you face any issues, refer to both the headphones’ and adapter’s user manuals for troubleshooting steps. Keep in mind that the actual button or method to activate pairing mode might vary based on the brand and model of your Bluetooth adapter, so always consult the manual specific to your device.
Finalizing the Connection Process
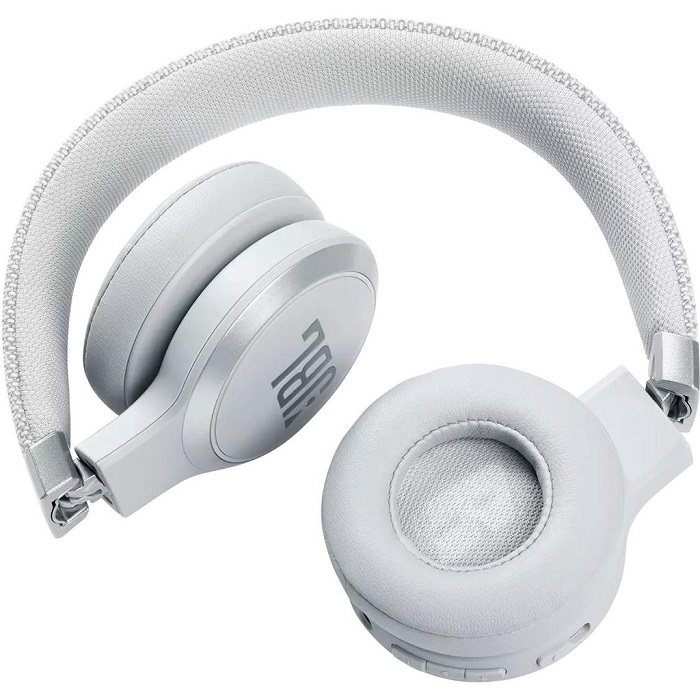
Once you have set up your Bluetooth adapter in pairing mode, it’s time to finalize the connection process with your JBL headphones. Follow these straightforward steps to ensure a successful pairing:
- Automatic Detection: Usually, your JBL headphones will automatically detect the adapter once both are in pairing mode.
- Manual Selection: If the devices don’t pair automatically, go into your headphone’s Bluetooth settings. Select the adapter from the list of available devices.
- Confirmation Sound: Listen for a confirmation sound or voice prompt from your headphones. This indicates a successful connection.
- Check Audio: Play a video or sound on your TV to check if the audio is routing through the headphones.
- Troubleshooting: If there is no audio, double-check the connection. Make sure your TV is set to output sound through the correct audio port.
- Reconnect if Needed: Should the headphones disconnect, put them back into pairing mode and repeat the process.
Remember, a firm connection is key for seamless audio enjoyment. By following these steps, you will be able to enjoy your TV programs and movies wirelessly with your JBL headphones.
Modifying TV Audio Settings for Optimal Sound
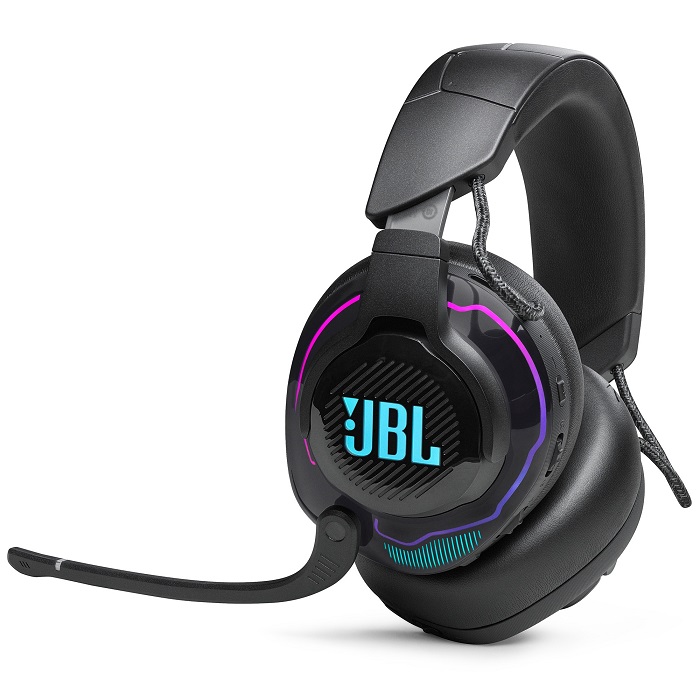
To maximize the audio quality of your JBL headphones when connected to your TV, it’s crucial to adjust your TV’s sound settings appropriately. The goal is to ensure your JBL headphones provide clear, uninterrupted sound for an enjoyable listening experience.
- Switch to PCM: Navigate to your TV’s audio settings and set the digital audio format to PCM. This uncompressed audio format is widely supported and eliminates sound issues with Bluetooth devices.
- Adjust Volume Levels: Start with a lower volume on both the TV and headphones. Gradually raise the volume to a comfortable level where dialogues and soundtracks are crystal clear.
- Disable TV Speakers: If your TV allows, disable its built-in speakers. This helps to avoid any echo or conflicting audio, since the sound should only go through your JBL headphones.
- Balance Sound: Experiment with your TV’s balance and equalizer settings. Adjust them to suit the type of content you’re watching or your personal preference.
- Check Audio Sync: Ensure there’s no lag between the video and audio. If your TV or adapter has an ‘audio delay’ setting, use it to synchronize the sound with the picture.
By fine-tuning these settings, you’ll enjoy an optimized audio experience with your JBL headphones. Experience your favorite TV shows, movies, and games with the sound quality they deserve.
