If you’ve recently purchased a pair of Beats headphones, you might find yourself wondering how to turn on Beats headphones. Whether you’re new to wireless audio devices or just need a little refresher, getting your headphones powered up is the first step toward enjoying high-quality sound. In this article, we’ll explore the various methods of turning on your Beats headphones, along with troubleshooting tips if you encounter any issues.
Initial Steps to Power On Beats Headphones
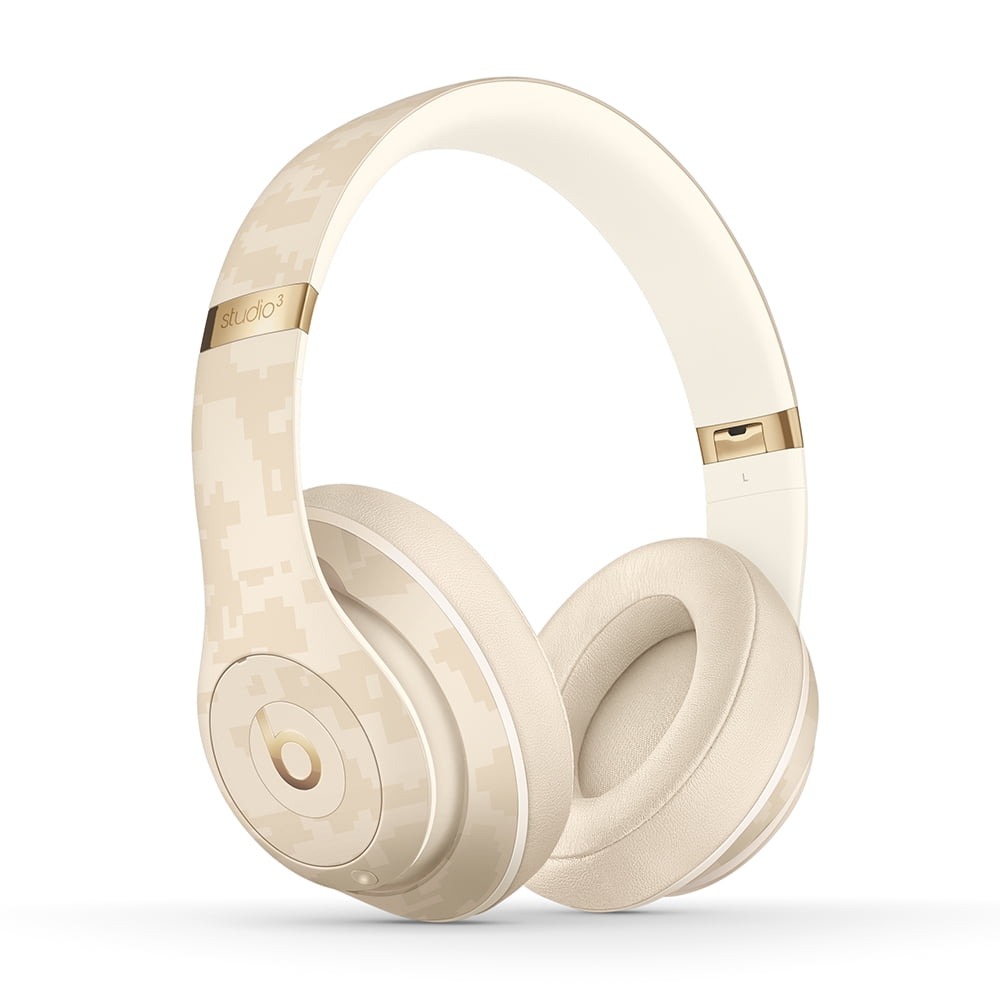
Turning on your Beats headphones for the first time, or after a period of non-use, requires a few simple steps. To ensure a seamless power-on experience, begin by inspecting your headphones. Make sure they are in good physical condition, with no visible damage to the ear cups or headband. Look for the power button, which is typically located on the left ear cup in most Beats models. It may appear as a circular button or have a power icon. Before pressing the button, check that your Beats headphones are sufficiently charged. A charge indicator light should glow, signaling that they are ready to use. If no light appears, you may need to charge them before proceeding.
Next, press and hold the power button for about one second. Listen for a powering on sound or watch for the LED to blink, indicating that your headphones are turning on. If you are turning on your Beats headphones for the first time, they should automatically enter pairing mode, signaled by a blinking light. This indicates they are ready to connect to your Bluetooth device. Remember to keep your Beats headphones close to the device you want to pair them with, to ensure a strong connection. If the headphones do not power on, double-check the charge or try resetting them. Follow these initial steps and you’ll be ready to enjoy your Beats headphones with minimal hassle.
Charging Your Beats Headphones Before Use
To begin, connect the included charging cable to your Beats headphones. Find the USB port on the headphones, which is usually on the bottom side. Use the other end of the cable to plug into a USB adapter or directly into a computer. A light should come on to show that charging is in progress. It’s important to fully charge your headphones before first use. This ensures maximum playtime and optimal performance.
For a quick charge, a few minutes may give you several hours of listening. However, for a complete charge, it could take a few hours. Check the manual for exact charging times. Always use the official charging accessories to prevent damage. Meanwhile, avoid using your headphones while they charge. This can extend the charging time. Solid red means they are still charging; white means fully charged.
If the charging light does not turn on, ensure that the power source is on and working. Try a different USB port or another power adapter if necessary. For optimal battery health, do not leave your Beats headphones plugged in all the time. Only charge them when needed, and unplug once fully charged.
Understanding the Power Button and Controls
Knowing how to use the power button and the other controls on your Beats headphones is key to enjoying a trouble-free listening experience. The power button, commonly found on the left ear cup, is not just for turning your headphones on and off. It also plays a crucial role in the pairing and reset processes. It’s essential to be familiar with the button’s functions and the signals it gives through LED lights.
The controls on Beats headphones vary slightly between models, but they mostly include volume buttons and a multifunctional ‘b’ button. The ‘b’ button can control calls, music playback, and activate voice assistants, depending on how you press it. It’s often found on the same side as the power button. A single press can play or pause music, a double press skips to the next track, and a triple press goes to the previous track. Holding down can trigger voice assistants like Siri or Google Assistant, depending on your device’s compatibility.
LED lights give you visual cues about the headphone’s status. A blinking light typically means the headphones are in pairing mode. A solid light indicates that they are powered on and connected. When charging, a red light means they are still charging, and a white light means they are fully charged. Understanding these signals will help you gauge your Beats’ current status at a glance. Remember, when learning how to turn on Beats headphones and use their controls, practice makes perfect. Try different commands and watch the responses from your headphones to get the hang of it.
Pairing Your Beats Headphones with Bluetooth Devices
Pairing your Beats headphones with a Bluetooth device is a straightforward process. First, ensure your headphones are powered on. You will know they are on when the LED light blinks. This blinking light means they are in pairing mode. If they do not enter pairing mode automatically, hold down the power button for about five seconds until the light starts flashing.
Now, go to the Bluetooth settings on your device. This will usually be in the settings menu under ‘Bluetooth’ or ‘Connections’. Make sure that Bluetooth is turned on. Your device will search for nearby Bluetooth devices. Look for the name of your Beats headphones in the list of available devices. It might take a few moments to appear.
Once you see your Beats headphones listed, tap on them to connect. You may need to confirm the pairing on your device, so follow any onscreen instructions. When the LED on your headphones turns solid, it means they are connected. Now, any audio from your device will play through your Beats headphones.
Remember to keep your headphones and Bluetooth device close to each other during the pairing process. This ensures a strong connection without any interruption. If you face any issues, turn off Bluetooth on your device and turn it on again. You can also restart your Beats headphones by turning them off and on.
For multiple devices, it is essential to unpair or disconnect from the current device before connecting to another. Understanding how to turn on, charge, pair, and control your Beats headphones enhances your experience and prevents common issues.
Resolving Common Power Issues with Beats Headphones
Sometimes, even after following the correct steps, Beats headphones may not power on. Here are some common issues and solutions.
Headphones Not Turning On
If your Beats headphones won’t turn on, check the battery life first. A depleted battery is the most common cause. Recharge them and try again. If they still don’t work, inspect the charging cable and USB port for any signs of damage. Try using a different cable or power source if you suspect they are faulty.
Headphones Not Charging
When you plug in your Beats headphones and they don’t start to charge, ensure your power source is on. Check the cable connections at both ends. If the issue persists, try a different USB port or a new charging adapter.
No Sound After Powering On
Ensure your Beats headphones are paired with a Bluetooth device. For no sound, check your device’s audio settings and volume control. Disconnect and reconnect the headphones to refresh the connection.
Powering Off Unexpectedly
If your headphones turn off on their own, it could be due to low battery life. Charge them to see if the issue resolves. If not, there may be a firmware problem. Look into updating your Beats through the official Beats Updater app.
By dealing with these common issues, you can often fix power problems without professional assistance. Remember to keep your Beats charged and regularly check for updates to avoid issues.
Resetting Your Beats Headphones
If your Beats headphones are still not working after charging and checking for power issues, a reset may be necessary. Here’s a step-by-step guide on how to reset your Beats headphones.
Step 1: Power Off Your Headphones
Firstly, make sure your Beats headphones are powered off. You can do this by pressing and holding the power button until the LED light turns off.
Step 2: Initiate Reset Process
For most Beats models, you can reset by holding down both the power button and the volume down button for 10 seconds. Watch for the LED light to flash. This will indicate that the reset is in progress.
Step 3: Wait for Reset Confirmation
Once the LED light blinks, release the buttons. Your headphones should now be reset. The reset signal is usually a series of flashes or a temporary change in color of the LED light.
Step 4: Pair Your Headphones Again
After a successful reset, you will need to pair your Beats headphones with your device again. Turn them on, and they should automatically go into pairing mode. Follow the standard pairing process as before.
Resetting can solve various issues like connectivity problems or software glitches. However, if you still experience issues after resetting, it might be time to seek further assistance.
Tips for Maintaining Battery Life
Maintaining the battery life of your Beats headphones is crucial for long-term performance. Here are some practical tips:
- Charge Properly: Always fully charge your headphones before the first use. For subsequent charges, do so before the battery completely drains.
- Avoid Overcharging: Once your headphones are fully charged, unplug them. This prevents battery strain and extends its lifespan.
- Use Official Chargers: Stick to the official charging accessories provided with your headphones. This ensures the right power input and avoids battery damage.
- Keep It Cool: Store your Beats headphones in a cool, dry place. Extreme temperatures can harm the battery.
- Regular Use: Batteries benefit from regular use. If left unused for extended periods, consider charging them partially to keep the battery active.
- Update Firmware: Keep your headphones’ firmware up to date. Updates can improve battery management.
- Reset When Needed: If you notice battery issues, resetting your headphones can recalibrate the battery indicator.
- Monitor Usage: Be mindful of usage patterns. If you notice quicker battery depletion than usual, it could signal a battery health issue.
By following these tips on how to turn on Beats headphones and maintain their battery life, you can enjoy uninterrupted listening for longer periods.
Contacting Support for Technical Issues
If you’ve tried all the previous steps and your Beats headphones still have issues, it’s time to contact support. Begin by visiting the official Beats by Dre website. Look for the ‘Support’ or ‘Contact Us’ section, which can usually be found at the bottom of the page. Once there, select your product for specific troubleshooting guides and contact options. Official support may offer live chat, email, or phone support. Choose the method most convenient for you. Remember to have your headphones and any relevant details handy, such as the model number and the specific issues you’re experiencing. Customer service can guide you through additional troubleshooting steps or arrange for repairs if necessary. If you’re under warranty, check the terms, as some issues might be eligible for free repairs or replacements. For quicker assistance, prepare a concise explanation of the problem, including steps you’ve already taken to resolve it. This will help the support team understand your issue and provide efficient help. If you need to send your Beats for service, pack them securely to avoid further damage during transit. Always use authorized service centers to ensure your headphones are handled by professionals using genuine parts.