The Essentials of Handheld Camera Use
When using a handheld camera, the basics matter. It’s about holding the device right and keeping it stable. Start with a camera suited for your hand size. Larger cameras often need more grip strength. Keep your elbows close to your body to form a natural tripod. This ensures steadiness. A proper stance is also key. Balance your weight evenly on both feet. Keep them shoulder-width apart.
Choosing the right settings is crucial. In low light, increase the ISO setting. For moving subjects, a faster shutter speed helps. Be mindful of the aperture. It affects the depth of field. Use the camera’s strap for extra support. It can reduce camera shake. Practicing the breathing technique can also help. Take a deep breath, release it halfway, and then take the shot.
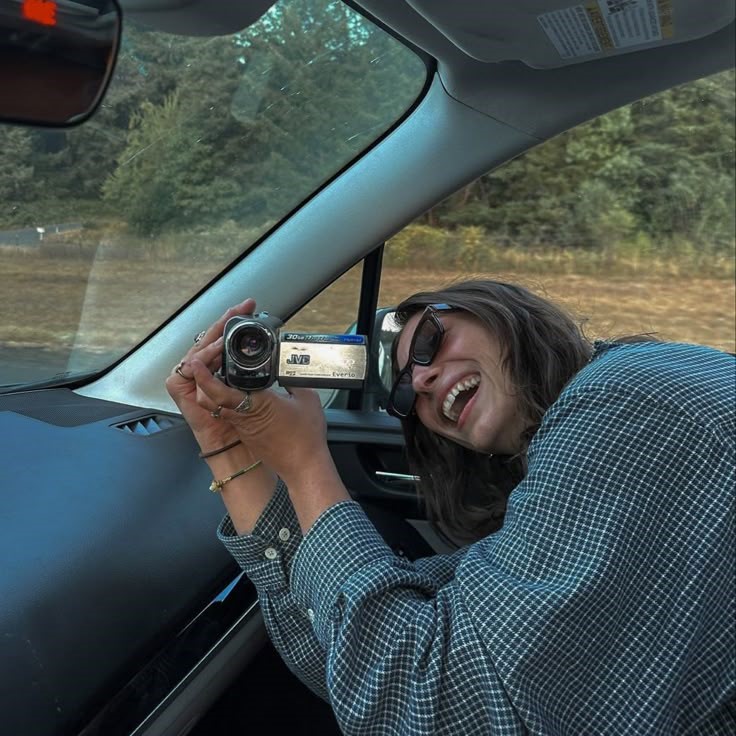
Remember, a handheld camera gives freedom. You can move around and catch diverse angles. Use this to your advantage. Capture spontaneous moments with ease. Get shots from perspectives that tripods can’t offer. But, always keep an eye on the basics. They make the difference between amateur and professional shots.
Choosing the Right Equipment for Handheld Shooting
Selecting the right gear is vital for shooting with a handheld camera. Key factors to consider include camera weight, ergonomics, and lens choice. A heavy camera can tire your hands quickly. Look for a lightweight model for longer shoots. Cameras with contoured grips offer better hold and reduce fatigue. Opt for lenses with optical image stabilization (OIS). They compensate for hand movement.
Consider sensor size as well. Larger sensors often yield better image quality, especially in low light. However, they can make cameras bulkier. Find a balance that works for your shooting style. A wide aperture lens is also good for handheld shooting. It allows more light and offers faster shutter speeds. This reduces motion blur.
Apart from the camera and lens, accessories matter. Additional grips or a camera cage can improve stability. They provide more points to hold onto. Battery life is another consideration. Long shooting sessions need a battery that lasts. Bring spare batteries to avoid disruptions.
Remember, the best equipment for handheld shooting fits your needs. Test different cameras and accessories. This will show you what feels right and what provides the best results.
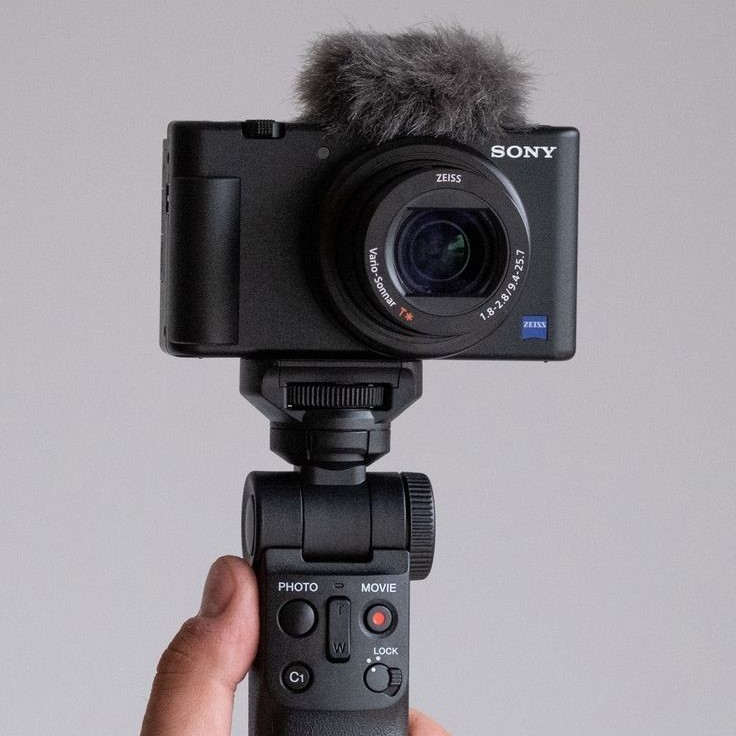
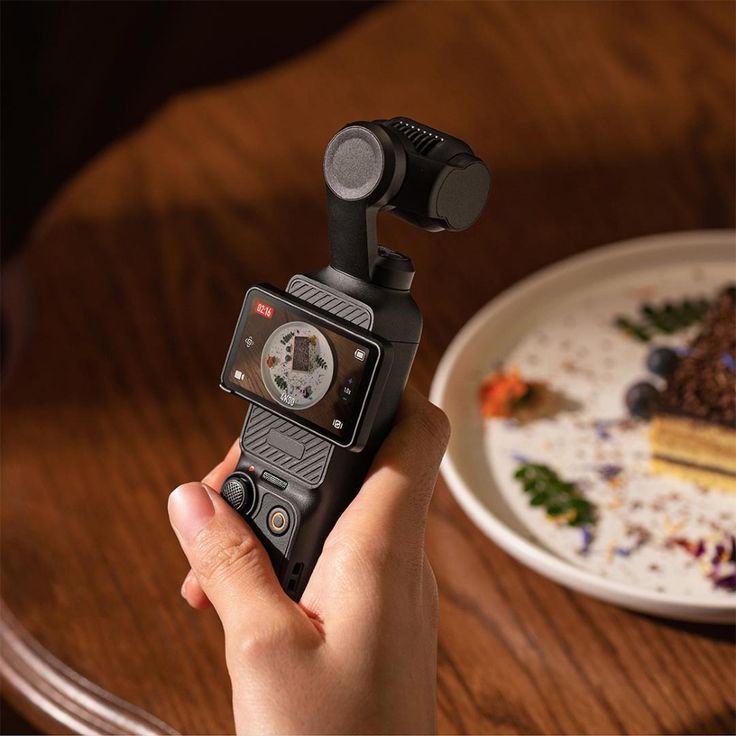
Mastering the Grip: How to Hold Your Camera Steady
Mastering the grip on your handheld camera is crucial for achieving steady shots. Developing a firm yet flexible hold is key to stability, and here are some techniques to do just that:
- Keep Your Hands Firm: Grip your camera with both hands. Use your right hand to hold the camera’s right side and your left hand to support the lens from underneath.
- Fingers in Position: Your fingers should wrap around the camera body naturally. Keep them relaxed but ready to adjust controls quickly.
- Support the Base: Always support the camera’s base with your hand or fingers. This spreads the weight and adds stability.
- Thumb Placement: Your thumb is critical for a steady grip. Make sure it’s comfortably placed against the camera’s back, offering added leverage and control.
- Flexible Elbows: Position your elbows against your body. This creates a natural brace and minimizes shaking.
- Relaxed Shoulders: Keep your shoulders relaxed. Tension leads to tremors which can translate to camera shake.
By following these tips, your handheld camera work will improve vastly. Remember, the steadier the grip, the clearer the shot. Practice regularly, and your shots will look smooth and professional.
Handheld Shooting Techniques: Motion and Stability
Achieving a balance between motion and stability is vital in handheld camera work. Here’s how:
Use Your Body as a Counterbalance: Lean slightly against the direction you’re moving. This keeps the camera steadier as you walk or pan.
Smooth Steps: Walk with soft, bent knees. Glide gently to avoid abrupt movements. Imagine you’re carrying a full cup of coffee.
Gradual Movements: Move the camera slowly for pans and tilts. Quick actions can cause blur and shake.
Breath Control: Exhale slowly when you press the shutter. This can reduce shake at the crucial moment of capture.
Anticipate Motion: Plan your moves before you shoot. This helps you avoid sudden, destabilizing adjustments.
Follow these techniques, and mix them with your grip skills. You’ll capture motion-rich scenes without sacrificing the sharpness and stability that mark professional work. Regular practice turns these tips into second nature for any handheld camera user.
Using Body Movements to Your Advantage
When shooting with a handheld camera, your body is part of the equation. Not only can the right body movements help stabilize your shots, but they can also open up creative possibilities. Here are some ways to use body movements to your advantage while shooting:
- Adopt a Stance for Stability: Stand with your feet shoulder-width apart. This gives you a solid base and balance.
- Lean Into Your Shots: If you’re moving forward or backward, lean slightly towards the opposite direction. This counteracts the motion and helps steady the camera.
- Use Your Hips: When panning, move from your hips rather than your arms. This results in a smoother motion.
- Pivot on Foot: If you need to turn, pivot on one foot. Keep the other foot planted to maintain a focal point.
- Tuck Your Arms: Bring your arms close to your body. This reduces shake and makes your stance more stable when moving.
By integrating these body movements, you can capture dynamic shots without relying on a tripod. Plus, these movements help when you’re in tight spaces or need to be mobile. Harness the agility of the handheld camera and use your body as an asset. With practice, these techniques will come naturally and enhance both the experience and quality of your handheld shooting.
Creative Angles and Framing with Handheld Cameras
The versatility of a handheld camera shines when exploring creative angles and framing. Here’s how to leverage this freedom to enhance your photography and videography:
- Go Low or High: Take advantage of a handheld camera’s mobility. Shoot from low angles for a dramatic effect or raise it above your head for a novel perspective.
- Find Unique Vantage Points: Step away from typical eye-level shots. Look for unique spots to shoot from, such as through a window or between objects, to create a sense of depth.
- Close-Ups: Move in close to your subject. A handheld camera makes it easier to capture intimate details that might be missed with stationary equipment.
- Capture the Action Upfront: Place yourself amongst the action. A handheld camera allows you to get up close and personal, providing an immersive experience for the viewer.
- Neat Frame Composition: Compose your frames on the fly. Frame subjects off-center or use the rule of thirds to create a balanced yet dynamic shot.
By continually practicing these techniques, you’ll discover that a handheld camera not only offers stabilization challenges but also opens the door to a myriad of creative photographic opportunities.
Handheld Camera Stabilization Gear
To achieve professional results with a handheld camera, consider using stabilization gear. Here’s what can help:
- Camera Stabilizing Harness: These harnesses take weight off your arms and distribute it across your body. This lessens fatigue and adds smoothness to your shots.
- Gimbals: Gimbals are pivotal for stabilizing video. They use motors to counteract movement, keeping your camera level. Portable and efficient, gimbals are essential for dynamic shots.
- Steadicams: A step up from gimbals, Steadicams offer superior balance. They smooth out movement and can capture cinematic footage. But they require practice to master.
- Monopods: Sometimes you need a quick rest or a way to keep steady. Monopods offer this without the bulk of a tripod.
- Shoulder Rigs: Great for video, shoulder rigs put the weight of the camera on your shoulder. This frees up your hands for controlled movement.
- Lens with Image Stabilization: While not gear for the camera body, a lens with built-in stabilization technology is crucial. It corrects for small hand movements that can blur your shot.
By integrating this stabilization gear into your handheld camera setup, you enhance the quality of your work. The gear not only provides stability but also increases the creative potential of your shots.
Tips and Tricks for Sharper Handheld Photos and Videos
To enhance your handheld camera work, there are several tips and tricks to capture sharp photos and videos:
Pre-Focus Your Shot
- Importance of Pre-Focusing: Pre-focusing your shot is a vital technique in photography and videography that can save precious time and ensure sharper images. By focusing on the spot where you anticipate your subject will be, you allow your camera to lock in on that area before the action occurs.
- How to Pre-Focus: To pre-focus, simply half-press the shutter button while pointing your camera at the intended focus area. Once the focus is locked in, you can reposition your camera as needed, knowing the focus will remain on your desired spot. This is especially useful in fast-paced situations where timing is critical.
- Setting for Success: Practicing this technique can significantly improve your shooting efficiency, especially in dynamic environments like sports or events. It helps you avoid the frustration of missed opportunities due to lagging autofocus systems.
Use Faster Shutter Speeds
- Reducing Motion Blur: Utilizing faster shutter speeds is imperative for avoiding motion blur in your shots. Action-packed scenes or subjects in rapid motion require quick shutter speeds to freeze the moment, ensuring clarity and sharpness.
- The Rule of Thumb: A common guideline in photography is to match your shutter speed with the focal length of your lens. For instance, if you’re shooting with a 100mm lens, aim for a minimum shutter speed of 1/100th of a second. This rule helps maintain the sharpness of your images, especially in handheld shooting scenarios.
- Adjusting for Changing Conditions: Keep in mind that lighting conditions and subject movement may necessitate further adjustments. In lower light, you might need to increase your ISO or open your aperture to maintain an effective shutter speed.
Higher Frame Rates for Video
- Benefits of Higher Frame Rates: When recording videos, utilizing higher frame rates can greatly enhance the quality of your footage. Higher frame rates allow you to slow down the recording during post-production, resulting in smooth slow-motion effects.
- Standard Frame Rates: While common frame rates like 24 or 30 frames per second (fps) are standard, consider shooting at 60 fps or higher for dynamic scenes or action shots. This provides more frames per second to work with and increases the visual fluidity of your video.
- Post-Production Potential: Footage recorded at higher frame rates can offer creative possibilities in editing. You may capture intricate details that would otherwise be lost, adding an artistic touch to your final product.
Use the Sharpest Aperture
- Understanding Sharpness: Each lens has a “sweet spot” where it performs optimally in terms of sharpness and clarity. This sweet spot is usually found around two f-stops down from the lens’s widest opening.
- Optimal Aperture Setting: Experiment with different f-stop settings to find the aperture that delivers the sharpest results for your specific lens. For example, if your lens has a maximum aperture of f/1.8, try using f/4 or f/5.6 to achieve a balance between depth of field and sharpness.
- Balance Depth and Clarity: While wider apertures create shallow depth of field, contributing to beautiful background blur, they can also introduce softness. Choosing the sharpest aperture allows you to keep important details in focus while still providing an aesthetically pleasing look.
Keep ISO as Low as Possible
- Understanding ISO and Noise: The ISO setting on your camera determines its sensitivity to light. Increasing the ISO can brighten images in low-light conditions, but it can also introduce digital noise, which decreases image quality.
- Finding the Right Balance: Aim to use the lowest ISO possible without underexposing your shot. A lower ISO, such as 100 or 200, will yield cleaner images with less noise. Adjust your shutter speed and aperture to compensate for lower light levels when necessary.
- Auto ISO Settings: Many cameras feature an Auto ISO setting, which intelligently adjusts the ISO based on lighting conditions. While this can be convenient, keep an eye on the resulting noise levels in higher ISO settings. You may want to set maximum ISO limits to maintain image quality.
Check Your Holding Technique
- Grip and Stability: Having a steady grip on your camera is critical for taking sharp photos and videos. If your shots are consistently blurry, it may indicate that your holding technique needs adjustment.
- Proper Hand Positioning: Use both hands to stabilize your camera. Place one hand around the camera body and the other on the lens. Adjusting your elbows to your sides can create a solid base, minimizing shake.
- Using Your Body for Support: When possible, brace your body against a wall or solid object to further reduce movement. This technique is particularly useful for handheld shooting during longer exposures.
Take Multiple Shots
- Embracing Burst Mode: Using burst mode allows you to capture several frames in quick succession. This feature is invaluable for action shots or moments where timing is crucial, as it increases the likelihood of getting the perfect shot.
- Reviewing Options: After capturing multiple images, take the time to review and select the best one. With burst mode, you have the luxury of choice, allowing you to pick the image with the best expression or action captured.
- Learning from Experience: Utilizing burst mode particularly helps novice photographers learn about timing and movement. Analyzing your burst shots can provide insights into how subtle changes in timing affect the outcome of your images.
Post-Processing Software
- Enhancing Your Images: After capturing your photos and videos, consider using post-processing software to refine your imagery. Programs like Adobe Lightroom or Photoshop offer various tools for color correction, sharpness adjustment, and creative enhancements.
- Stabilizing Video Footage: If you’ve recorded video, post-processing software can also help stabilize shaky footage. Using software tools designed for video editing allows you to smooth out undesired movements and produce polished, professional-looking videos.
-
Adding Final Touches: Whether you’re adjusting exposure in photographs or cropping video clips for focus, taking the time to enhance your work in post-processing will significantly elevate the quality of your final products.
By applying these simple yet effective strategies, your handheld camera shots can elevate from good to great. Consistent practice and mindful adjustment to these techniques will help you achieve the sharpness and clarity that defines professional-quality imagery.