


Understanding the Basics
Security camera installation has become an essential step in protecting homes and businesses. Whether you’re securing your property or monitoring activity remotely, knowing how to set up a security camera system can save you both time and money. Many people assume that professional services are the only way to ensure proper installation. However, with some guidance, anyone can complete a DIY security camera setup effectively. In this guide, we’ll walk you through the process step by step, ensuring your system is functional and reliable. Additionally, understanding the basics of security camera installation helps you make informed decisions about equipment and placement. Let’s dive into what you need to know before getting started.
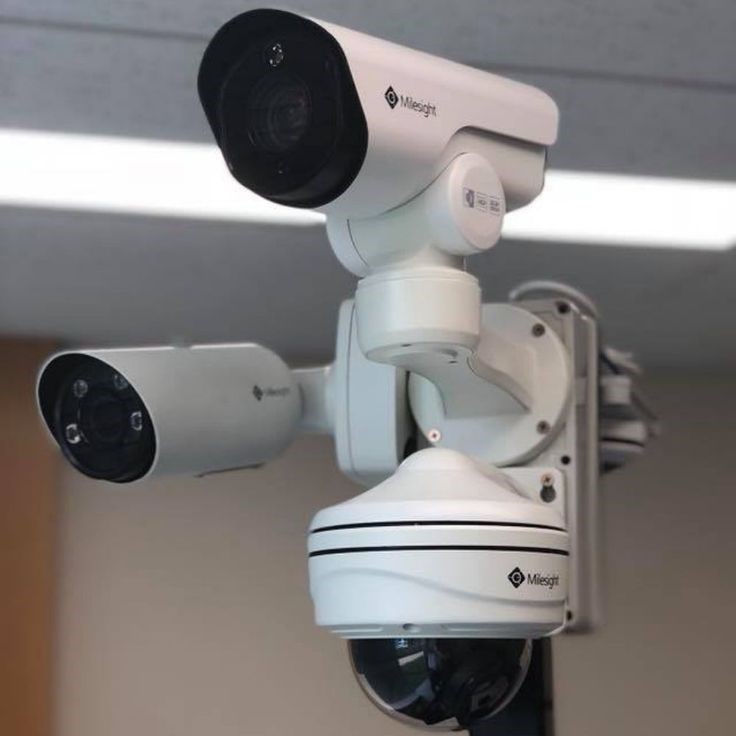
When planning a security camera installation, consider factors such as camera types, connectivity options, and power sources. For instance, wireless cameras offer flexibility but may require stable Wi-Fi connections. Wired systems, on the other hand, provide consistent performance without relying on network signals. Both options have advantages depending on your specific needs. Transitioning into the next section, let’s explore how to choose the right equipment for your project.
For example, if you live in a rural area with limited internet access, opting for a wired system might be more practical than relying on wireless technology. Similarly, urban dwellers concerned about aesthetics may prefer sleek, compact designs that blend seamlessly with their surroundings. Evaluating these variables ensures compatibility between your chosen equipment and environmental conditions. Furthermore, understanding the differences between indoor and outdoor models aids in selecting appropriate devices for varying climates and terrains.
Choosing the Right Equipment for Your Security Camera Setup
Selecting the appropriate equipment is critical for a successful security camera installation. Start by evaluating your surveillance goals. Are you looking to monitor entrances, deter intruders, or record activities in real-time? Each objective influences which cameras and accessories you should purchase. For example, outdoor security camera placement requires weatherproof models capable of withstanding harsh conditions. Similarly, low-light environments benefit from night vision capabilities, ensuring clear footage even in darkness.
Another important consideration is compatibility between devices. Ensure all components—cameras, recording units, and apps—work seamlessly together. Some manufacturers offer bundled packages designed specifically for DIY enthusiasts, simplifying the selection process. Furthermore, assess storage requirements based on how long you plan to retain recordings. Cloud-based solutions provide convenience, while local hard drives offer cost savings. Balancing these elements ensures your system meets your expectations.
Additionally, explore additional features like two-way audio, motion detection, and facial recognition. Two-way audio allows communication with visitors or intruders directly through the camera, enhancing interactivity. Motion detection minimizes unnecessary alerts by filtering out irrelevant movements, such as swaying trees or passing animals. Facial recognition adds another layer of sophistication, identifying known individuals and flagging unknown faces automatically. Combining these functionalities creates a comprehensive security solution tailored to your unique demands.
Planning Your Camera Placement Strategically
Proper camera placement plays a significant role in maximizing the effectiveness of your security camera installation. Begin by identifying key areas around your property where coverage is most needed. Common spots include front doors, backyards, garages, and driveways. Avoid blind spots by overlapping fields of view between adjacent cameras. Additionally, position cameras at optimal heights to capture detailed images of individuals or vehicles entering your premises.
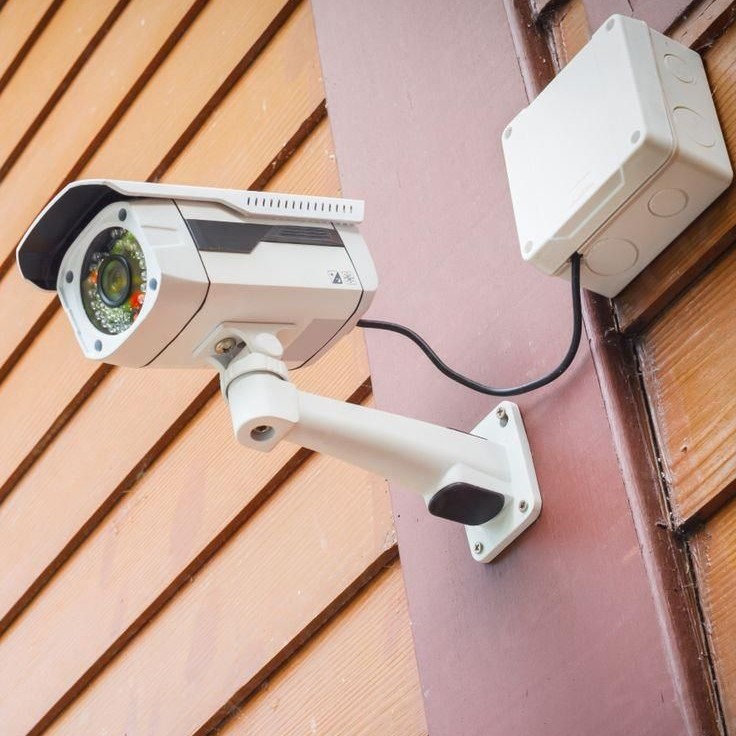
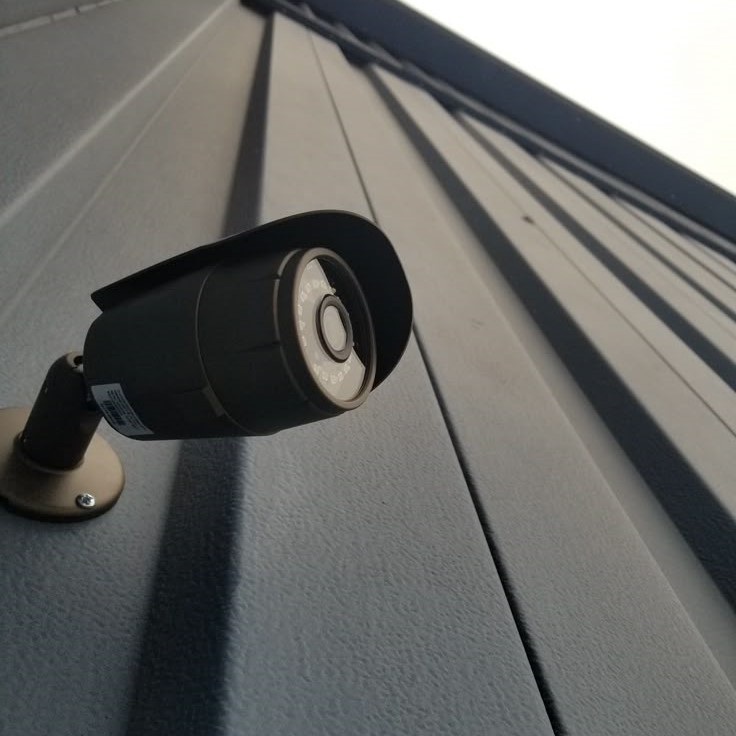
For outdoor security camera placement, take additional precautions to protect against environmental factors. Mount cameras securely using durable brackets resistant to wind and rain. Angle lenses downward slightly to minimize glare from sunlight or headlights. If privacy concerns exist, consult local regulations regarding permissible locations for surveillance equipment. Planning ahead minimizes potential issues during setup and enhances overall system performance.
Consider strategic positioning for maximum deterrence. Place visible cameras near entry points to discourage unauthorized access. Conceal others discreetly to catch unexpected intrusions undetected. Balancing visibility and stealth ensures comprehensive protection while maintaining ethical standards. Moreover, account for future expansion possibilities when designing your layout. Installing extra wiring conduits or reserving space for additional cameras facilitates upgrades as needs evolve over time.
Step-by-Step Guide to Installing Your Security Cameras
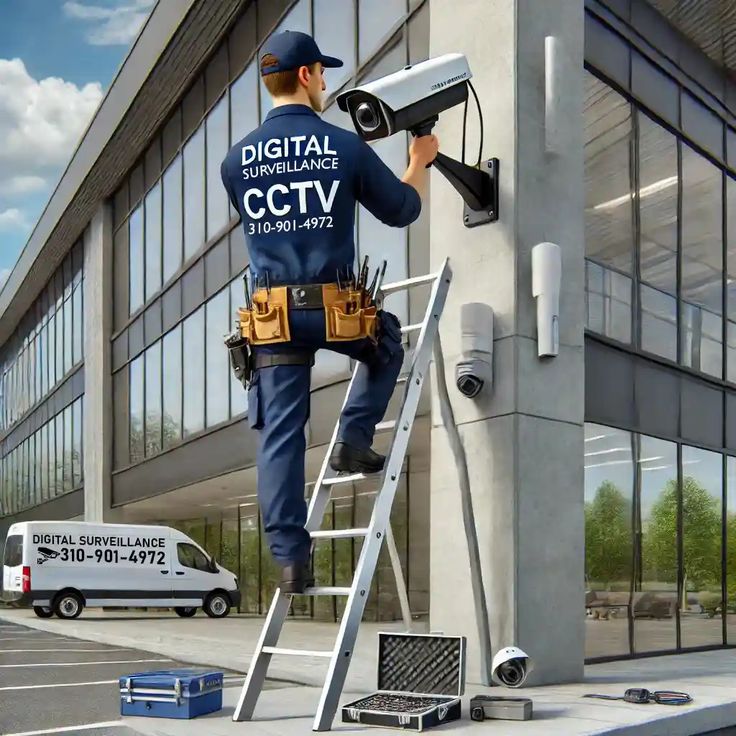
Now that you’ve chosen your equipment and planned placements, it’s time to begin the actual security camera installation. Start by gathering necessary tools, including screwdrivers, drills, and wire strippers if applicable. Follow manufacturer instructions closely to avoid damaging components during assembly. Below are general steps for setting up both wired and wireless systems:
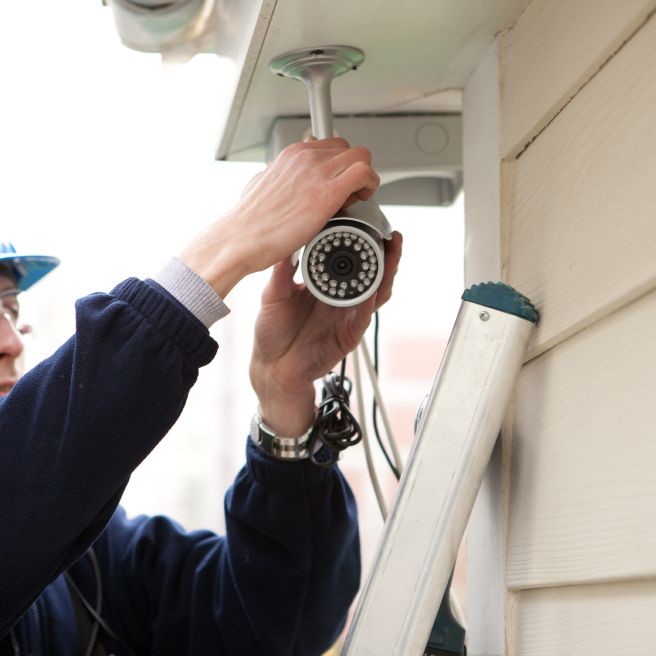
- Mount Cameras: Securely attach mounts to walls or ceilings according to recommended guidelines. Use level tools to ensure straight alignment.
- Connect Power Sources: For wired setups, run cables to power outlets or central hubs. Wireless cameras typically use batteries or plug directly into outlets via adapters.
- Configure Network Settings: Download companion apps provided by the manufacturer and connect cameras to your Wi-Fi network following on-screen prompts. Test connectivity to confirm successful pairing.
- Adjust Angles: Fine-tune camera positions for optimal visibility. Revisit earlier placement strategies to verify coverage remains comprehensive.
Completing these steps methodically reduces errors and ensures smooth operation once activated. As you progress, document settings and configurations for future reference.
For wireless installations, pay special attention to signal strength and interference. Position routers strategically to minimize obstructions caused by walls or metal objects. Utilize channel management tools within router interfaces to optimize bandwidth allocation for uninterrupted streaming. Similarly, wired setups demand careful cable management practices to maintain tidiness and prevent tripping hazards. Label each cable clearly for easy identification during maintenance or troubleshooting sessions.
Troubleshooting Common Issues During Installation
Even with careful preparation, challenges may arise during security camera installation. One common issue involves weak Wi-Fi signals affecting wireless cameras. To address this, reposition routers closer to affected areas or invest in signal boosters. Another problem could be poor video quality due to incorrect lens adjustments or insufficient lighting. Regularly clean lenses and experiment with different angles to improve clarity.
Power outages represent another potential obstacle, especially for battery-operated devices. Schedule routine checks to replace depleted batteries promptly. Alternatively, consider purchasing rechargeable alternatives for extended usability. Should technical difficulties persist despite troubleshooting efforts, refer to customer support resources offered by the manufacturer. Most companies provide helpful guides or live assistance to resolve complex matters efficiently.
In addition to hardware-related issues, software conflicts occasionally occur. Ensure firmware updates remain current to fix bugs and enhance stability. Reset devices cautiously when encountering persistent malfunctions, backing up configuration files beforehand to preserve custom settings. Collaborating with online communities or forums dedicated to security camera enthusiasts provides valuable insights into overcoming recurring problems shared by others.
Maximizing System Performance Post-Installation
After completing your security camera installation, focus on optimizing its performance for long-term benefits. Set up motion detection alerts to notify you instantly when unusual activity occurs. Customize sensitivity levels to filter out false triggers caused by pets or natural movements. Additionally, review recorded footage periodically to identify patterns or vulnerabilities requiring attention.
Enhance data security by enabling encryption features available in many modern systems. This safeguard prevents unauthorized access to sensitive information stored locally or in the cloud. Share login credentials cautiously among trusted individuals, reinforcing accountability within your household or organization. Maintaining vigilance post-installation ensures your investment continues delivering value over time.
Implement advanced analytics tools integrated into certain platforms to extract actionable insights from collected data. Track visitor trends, analyze peak activity periods, or detect suspicious behaviors automatically. Such capabilities transform raw footage into meaningful intelligence supporting smarter decision-making processes. Partnering with compatible smart home ecosystems amplifies functionality further, creating interconnected networks responsive to evolving user preferences.
Cost-Saving Strategies
One of the primary motivations behind DIY security camera installation is saving money. By handling the process yourself, you eliminate labor costs associated with hiring professionals. To maximize savings further, prioritize purchasing affordable yet reliable equipment. Research budget-friendly brands known for producing high-quality products without excessive markups.
Consider bundling multiple purchases together to qualify for discounts or free shipping offers. Explore second-hand markets carefully, ensuring pre-owned items come with warranties or guarantees. Lastly, leverage online tutorials and community forums for guidance, reducing reliance on paid consultations. Combining these strategies creates a cost-effective solution tailored to your unique circumstances.
Additionally, evaluate subscription plans tied to cloud storage or monitoring services critically. Opt for pay-as-you-go models instead of committing to lengthy contracts unless substantial discounts apply. Monitor usage patterns closely to adjust service tiers accordingly, avoiding unnecessary expenses stemming from underutilized features. Balancing upfront investments with ongoing operational costs yields sustainable financial outcomes aligned with your security objectives.
Conclusion
In conclusion, mastering the art of security camera installation empowers you to protect your property while conserving financial resources. From selecting suitable equipment to executing precise placements, every stage contributes to building a robust surveillance system. Remember, the keyword “security camera installation” encompasses more than just physical setup—it represents peace of mind and proactive safety measures. With the tips outlined in this guide, you’re well-equipped to embark on your DIY journey confidently. So roll up your sleeves, gather your tools, and start securing your world today!
By prioritizing thorough research, meticulous planning, and diligent execution, you unlock the full potential of your security infrastructure. Stay informed about emerging technologies shaping the industry landscape, adapting accordingly to maintain cutting-edge protections suited to dynamic threats. Embrace innovation responsibly, balancing convenience with responsibility to foster safer environments for everyone involved.
