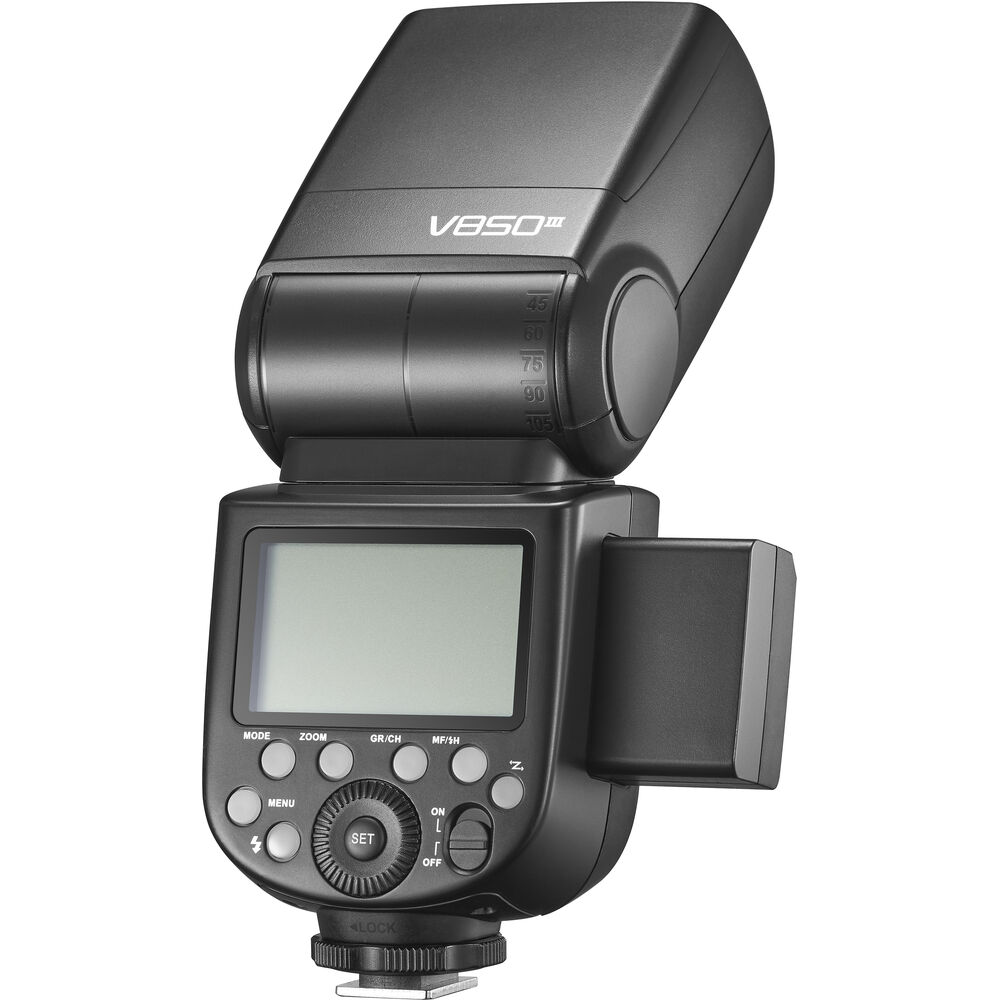
Wireless flash triggering is a game-changer for photographers who want to explore the creative possibilities of off-camera flash. Being able to trigger a detachable camera flash wirelessly provides flexibility, freedom, and greater control over the lighting in your images. In this article, we will explore the different methods and techniques for wirelessly triggering a detachable camera flash.
- Understanding Wireless Flash Triggers
Wireless flash triggers are devices that allow you to remotely fire a detachable camera flash without the need for any physical connection. They consist of a transmitter and a receiver, which communicate with each other wirelessly. The transmitter is usually attached to the camera’s hot shoe, while the receiver is connected to the flash unit. When you press the shutter button on the camera, the signal is sent from the transmitter to the receiver, triggering the flash.
- Types of Wireless Flash Triggers
There are two main types of wireless flash triggers: optical and radio triggers.
a. Optical Triggers: Optical triggers use light to communicate between the transmitter and the receiver. The built-in flash on your camera emits a burst of light, which is detected by the receiver on the detachable flash unit. While optical triggers can be effective in certain situations, they have limitations. They require a direct line of sight between the transmitter and the receiver, and they don’t work well in bright sunlight or when the flash is positioned behind obstacles.
b. Radio Triggers: Radio triggers use radio waves to communicate between the transmitter and the receiver. They are more reliable and versatile than optical triggers because they do not require a direct line of sight. Radio triggers can work over longer distances and through obstacles such as walls or furniture. They also provide more control and customization options, such as adjusting the flash power remotely.
- Choosing the Right Wireless Flash Trigger
When choosing a wireless flash trigger, consider the following factors:
a. Compatibility: Ensure that the trigger is compatible with your camera model and flash unit. Check the specifications and compatibility list provided by the manufacturer.
b. Range: Consider the range of the trigger. If you plan to shoot from a distance or in large spaces, choose a trigger with a longer range.
c. Features: Look for additional features that may enhance your shooting experience. Some triggers offer high-speed sync (HSS) capabilities, allowing you to use faster shutter speeds with flash. Others may have TTL (Through-The-Lens) capabilities, which automatically adjust the flash power based on the camera’s metering.
d. Reliability: Read reviews and user feedback to ensure that the trigger is reliable and does not have connectivity or reliability issues.
- Setting Up Wireless Flash Triggers
Setting up wireless flash triggers is relatively easy. Follow these steps:
a. Attach the Transmitter: Attach the transmitter to your camera’s hot shoe. Ensure that it is securely connected and in the correct orientation.
b. Connect the Receiver: Connect the receiver to your detachable flash unit. Some receivers simply slide into the flash’s hot shoe, while others may require a cable connection.
c. Pairing: Ensure that the transmitter and the receiver are paired correctly. Refer to the manufacturer’s instructions on how to pair the devices. In some cases, they may come pre-paired and ready to use.
d. Power On: Turn on both the transmitter and the receiver. Check the battery levels and ensure they are adequately powered.
e. Set Flash Mode: Set your detachable flash unit to the appropriate mode (manual or TTL) based on your shooting preferences.
f. Test: Take a test shot to ensure that the flash triggers are working correctly. Press the shutter button on your camera, and the flash should fire wirelessly.
- Tips for Using Wireless Flash Triggers
To make the most of wireless flash triggers, consider the following tips:
a. Line of Sight: Keep in mind that some triggers require a direct line of sight. If you are using optical triggers, ensure that there are no obstacles blocking the transmission of light between the transmitter and the receiver.
b. Range Limitations: Understand the range limitations of your wireless flash triggers. If you move too far away from the flash, the triggers may fail to fire reliably. Experiment with different distances to determine the maximum range.
c. Positioning: Experiment with different positions and angles for placing the flash unit. Off-camera flash allows for more creative lighting possibilities, so don’t limit yourself to placing the flash in a conventional position. Experiment with different angles, heights, and distances to achieve the desired lighting effect.
d. Multiple Flash Setups: Wireless flash triggers also allow you to trigger multiple flash units simultaneously. This opens up endless possibilities for creative lighting setups. You can use multiple flashes to create a more complex lighting scenario, such as using one flash for the main light and another for fill light. Experiment with different combinations to achieve the desired lighting effect.
