Action cameras have become an essential tool for capturing our adventures and sharing them with the world. Whether you’re hiking, biking, or surfing, these compact cameras allow you to document your thrilling experiences in stunning high-definition. However, one factor that often gets overlooked when it comes to protecting action cameras is the damaging effects of ultraviolet (UV) rays. UV rays can cause significant harm to your camera, affecting its image quality and even damaging its internal components over time. To safeguard your action camera from UV rays, using an action camera protector is a simple yet effective solution. In this article, we will explore how to protect your action camera from UV rays with an action camera protector.
Understanding the Impact of UV Rays
UV rays are a component of sunlight that can cause damage to both living organisms and inanimate objects. When it comes to action cameras, prolonged exposure to UV rays can have several negative effects:
- Image Quality: UV rays can affect the quality of your camera’s footage by causing a phenomenon known as “haze.” This haze appears as a slight bluish tint in images and videos, reducing their clarity and sharpness. It can make landscapes appear less vibrant and colors less accurate.
- Lens Damage: UV rays can cause long-term damage to the camera’s lens. Over time, UV exposure can lead to the deterioration of lens coatings, affecting their ability to transmit light properly. This can result in reduced image quality, lens flares, and an overall decrease in the camera’s performance.
- Sensor Damage: UV rays can also harm the camera’s image sensor, which is responsible for capturing the footage. Prolonged exposure to UV rays can cause the sensor to degrade, leading to image artifacts, decreased sensitivity, and potential malfunctions.
Choosing the Right Protective Film
To protect your action camera from the damaging effects of UV rays, using a protective film is a wise choice. Here are a few factors to consider when selecting the right protective film for your action camera:
- UV Protection: Look for protective films specifically designed to block UV rays. These films usually have a UV filtering layer that absorbs or reflects UV radiation before it reaches the camera’s lens and sensor. Ensure that the protective film you choose offers a high level of UV protection, typically rated at 99% or higher.
- Clarity and Transparency: It’s crucial to choose a protective film that does not compromise the clarity and transparency of your camera’s lens. Look for films that are optically clear and transparent, allowing the lens to capture sharp and vivid images without any distortion or loss of detail.
- Anti-Glare and Anti-Reflective Properties: Some protective films come with additional features such as anti-glare and anti-reflective properties. These properties help reduce reflections and glare caused by direct sunlight, ensuring clearer footage even in bright outdoor conditions.
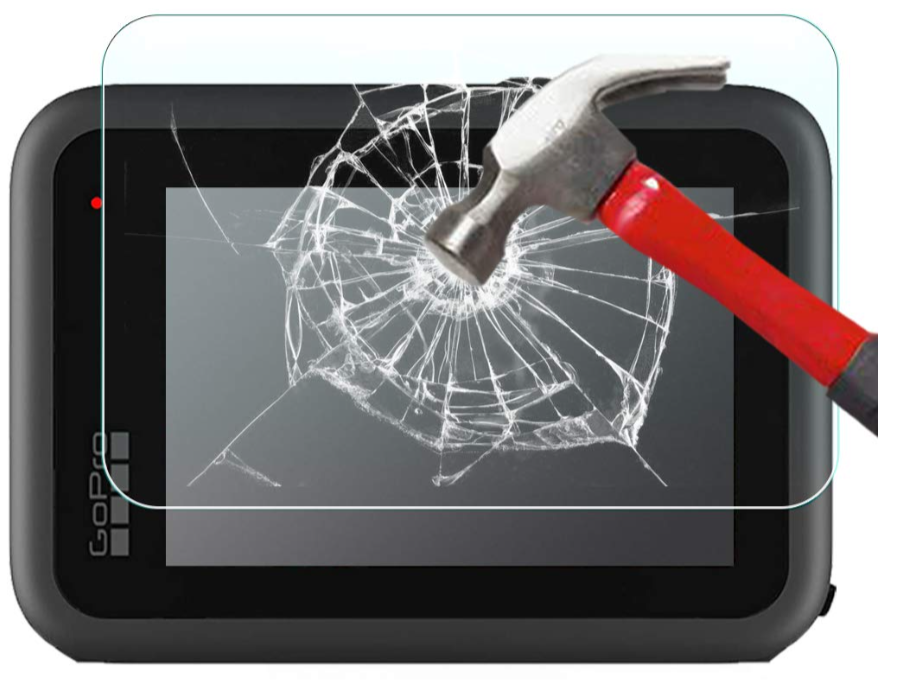
- Scratch Resistance: Action cameras are often exposed to rough environments, which increases the risk of scratches on the lens. Opt for a protective film that offers scratch resistance, keeping the lens of your camera free from unsightly scratches that can affect image quality.
- Ease of Application: Consider the ease of applying the protective film to your action camera. Look for films that come with a self-adhesive backing for easy installation. It’s also worth checking if the film can be repositioned during application, allowing you to achieve a perfect fit without any bubbles or misalignment.
Applying the Protective Film
Once you have chosen the right protective film for your action camera, it’s time to apply it. Here is a step-by-step guide on how to apply a protective film to your camera:
- Clean the Lens: Before applying the protective film, make sure to clean the lens of your action camera thoroughly. Use a microfiber cloth or lens cleaning solution to remove any dust, fingerprints, or smudges. A clean lens ensures proper adhesion and prevents trapped particles from affecting image quality.
- Prepare the Film: Carefully peel off the protective film from its packaging, taking care not to touch the adhesive side with your fingers. Hold the film by its edges to avoid leaving any fingerprints or smudges on the film.
- Align the Film: Hold the film above the camera lens and align it carefully. Pay attention to the positioning of any cutouts or notches on the film, ensuring they match the camera’s lens and other features.
-
Apply the Film: Gently place the film onto the camera lens, starting from one edge and gradually pressing it down towards the other edge. Use a microfiber cloth or a soft applicator tool to remove any air bubbles or wrinkles as you apply the film. Take your time to ensure a smooth and bubble-free application.